Hello and welcome back! In our last two posts, we built and fortified our data vault: a resilient ZFS NAS backed by a multi-layered automated backup plan. Our storage infrastructure is rock-solid, and now that the networking and storage are humming along, it’s finally time to deploy our applications… except no, not yet. There’s one last critical piece of the puzzle before we start deploying anything: Identity Management.
Think of it this way. Imagine your homelab is a building with many rooms. Without a proper key system, every room has its own incompatible lock, its own password on a sticky note, and its own drawer full of “forgot my password” headaches. Identity management gives every resident a single master key that opens exactly the doors they’re allowed through, and nothing else.
In this post, we’ll build exactly that system using two tools that work in tandem:
- FreeIPA: Our centralized identity store. It will be the single source of truth for all users, groups, and hosts in our network. Think of it as the open-source, Linux-native alternative to Microsoft Active Directory.
- authentik: Our Single Sign-On (SSO) gateway. It sits in front of our applications, reads users from freeIPA, and speaks modern authentication protocols (OIDC and SAML) so users can log in once and access everything.
Let’s get to it.
The Architecture
Before diving in, let’s quickly map out what we’re building.
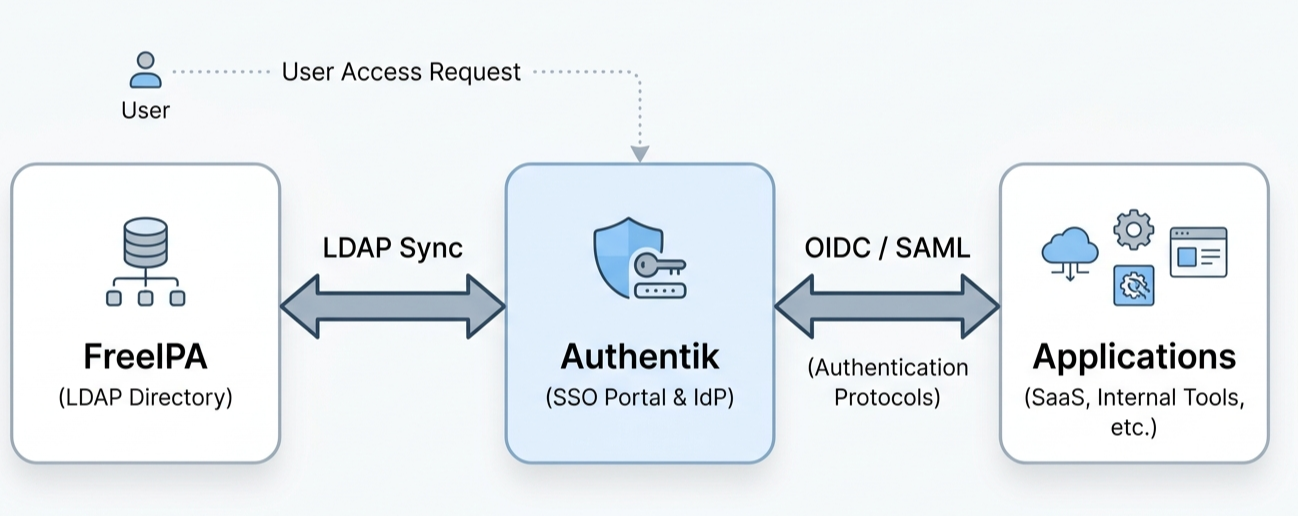
The flow is straightforward:
- A user tries to access an application in the homelab.
- The application redirects them to the authentik login portal.
- authentik verifies the credentials against freeIPA over LDAP.
- On success, the user receives a token and is sent back to the application, fully authenticated.
Both services will run on a dedicated VM called iam.home.local (10.0.20.3), sitting in the management VLAN we designed back in Part 3.
Step 1: Creating the IAM Virtual Machine
Using the cloud-init template we prepared in Part 4, spin up a new Fedora-based VM. FreeIPA has first-class support on Fedora and RHEL-family systems, so this is the right choice here.
Once the VM is up, the first essential task is to set its hostname correctly. FreeIPA is remarkably particular about hostname and DNS resolution — a misconfigured hosts file will cause the installer to bail out with a cryptic error.
For a cloud-init image, edit the cloud-init hosts template:
1 | vi /etc/cloud/templates/hosts.redhat.tmpl |
For a standard image, edit /etc/hosts directly:
1 | vi /etc/hosts |
Either way, the file should look like this:
1 | 10.0.20.3 iam.home.local iam |
⚠️ The FQDN line (
iam.home.local) must come before the localhost entries. The freeIPA installer uses it to auto-detect the server’s hostname and domain during setup.
Step 2: Installing freeIPA
With the hostname sorted, installing freeIPA is surprisingly painless:
1 | sudo dnf update -y |
Now run the interactive installer:
1 | sudo ipa-server-install |
The installer walks you through a series of prompts. The key choices are:
- Configure integrated DNS? →
Yes— We want freeIPA to manage DNS for ourhome.localdomain. - Configure a NTP/Chrony server pool? →
No— Time synchronization is already handled by our network. - DNS forwarder →
10.0.20.1— This is our AdGuard Home instance from Part 5. Pointing freeIPA’s forwarder here ensures the IAM server can resolve both local and external domains.
After installation completes (grab a coffee, it takes a few minutes), if you have firewalld configured and enabled, open the firewall rules to the services freeIPA needs:
1 | sudo firewall-cmd --add-service=kerberos --add-service=ntp --add-service=http --add-service=https --add-service=freeipa-ldap --add-service=freeipa-ldaps --permanent |
FreeIPA uses Kerberos for authentication, LDAP for the directory, and HTTP/HTTPS for the web UI. These rules open all the ports required for those services to function.
Step 3: Configuring DNS
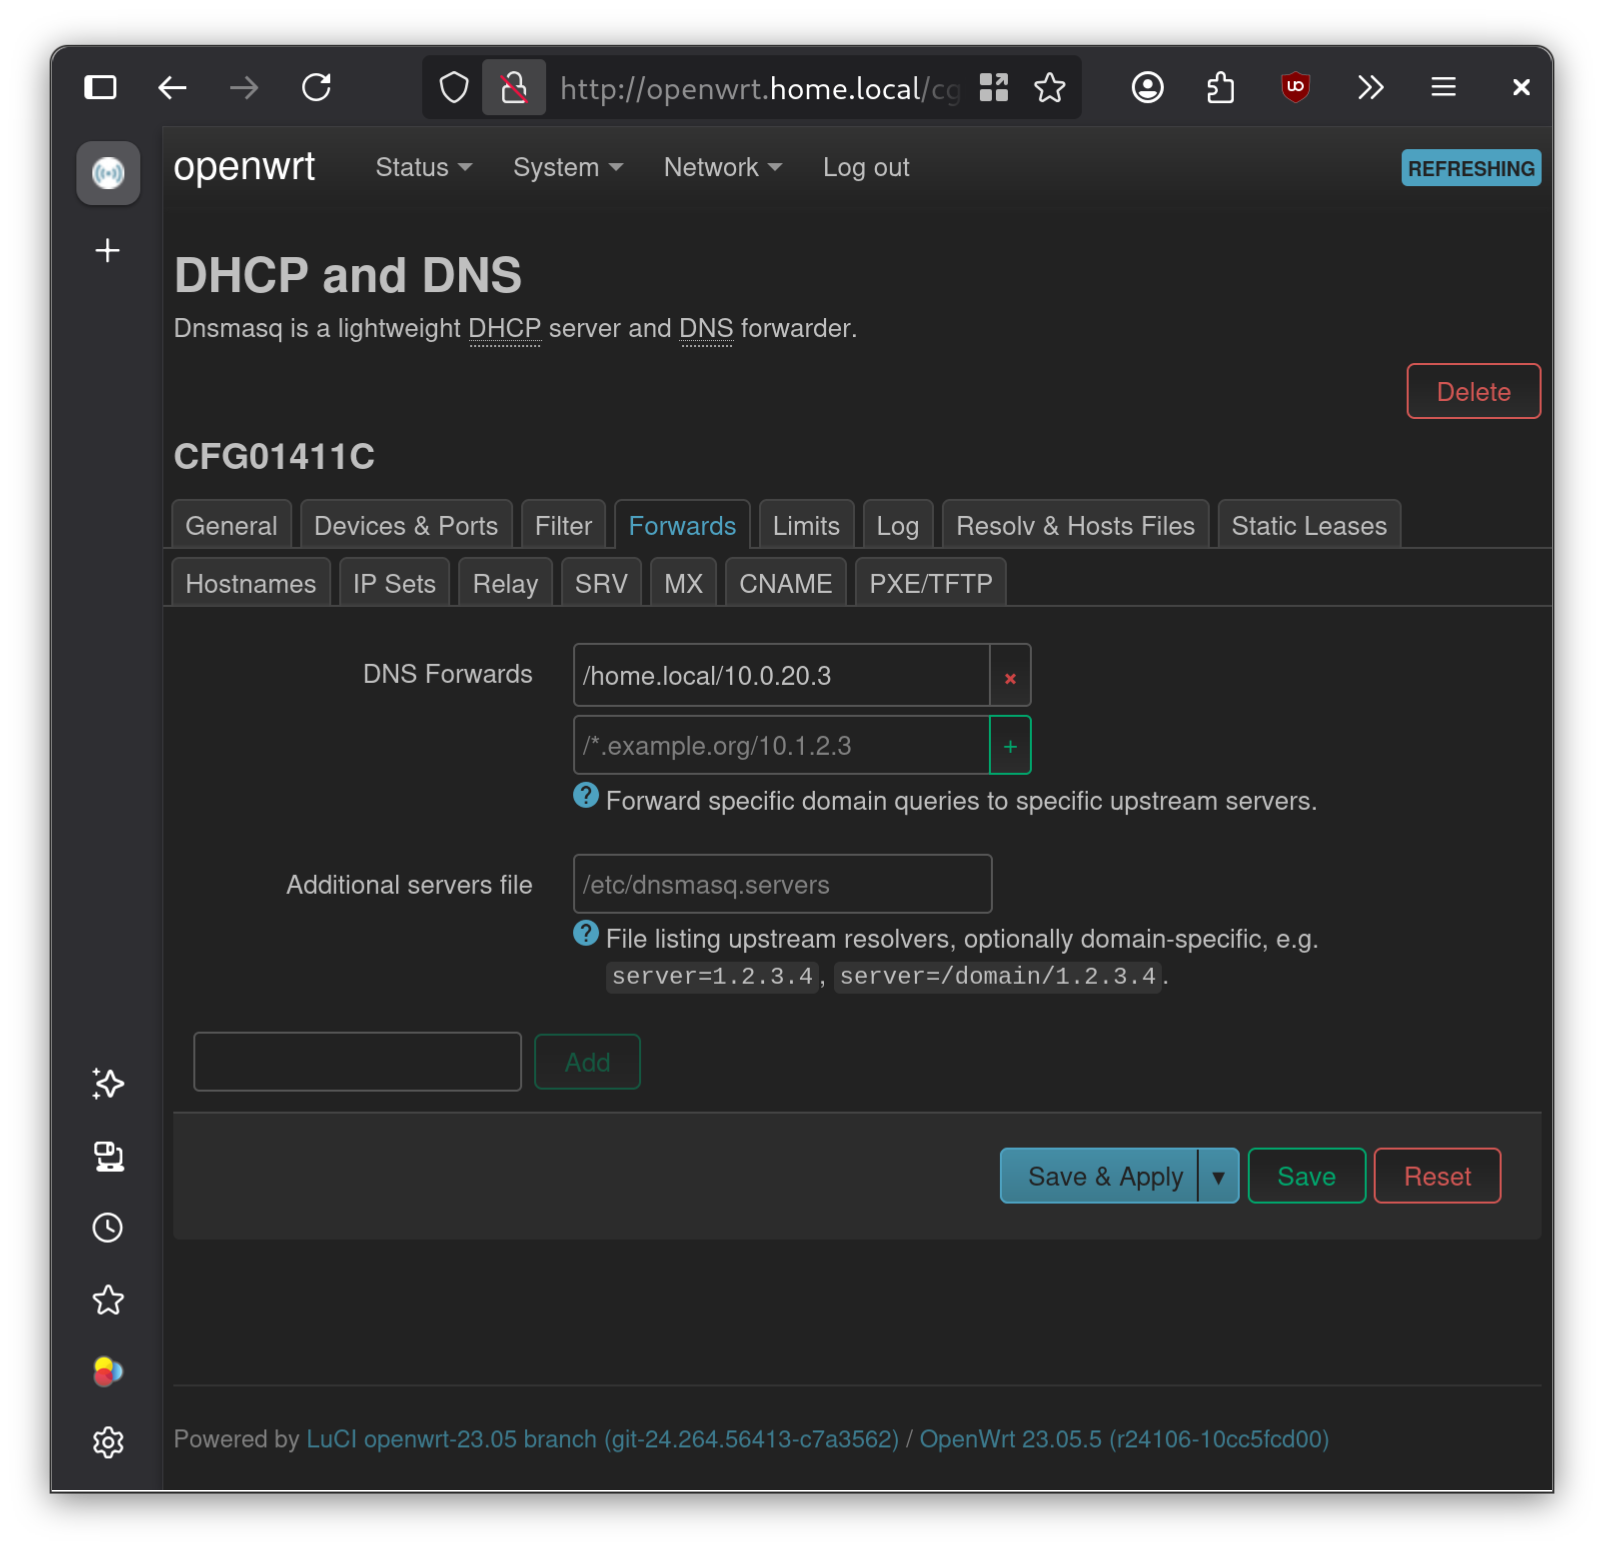
For the rest of the network to reach freeIPA by name, we need to tell our OpenWRT router to forward DNS queries for home.local to the new IAM server.
First, let’s check what DNS records freeIPA registered for itself:
1 | ipa dns-update-system-records --dry-run |
Then, in the OpenWRT LuCI interface (or via the uci CLI), add a DNS forwarding rule to forward all home.local queries to 10.0.20.3. This ensures every machine on the network can resolve iam.home.local and the Kerberos service records that freeIPA publishes.
Step 4: Creating the First User Account
With freeIPA running and DNS configured, head to the web UI at https://iam.home.local.
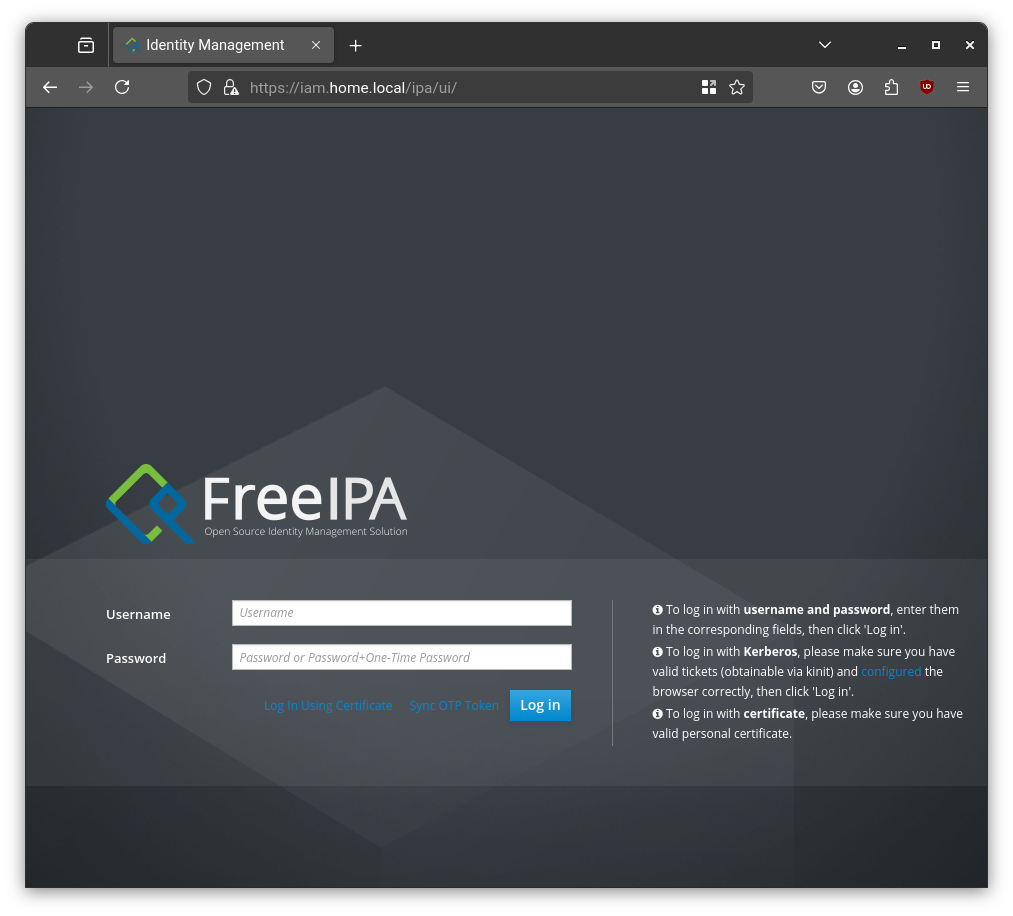
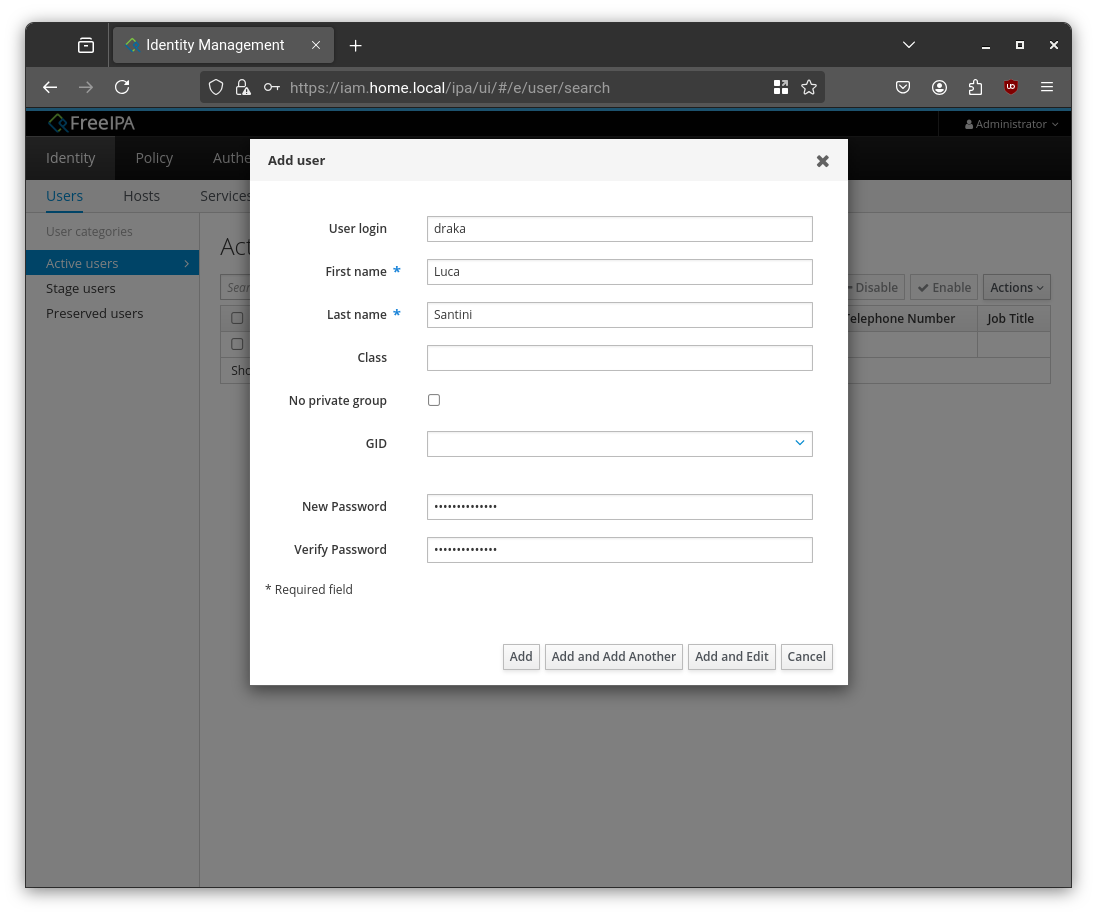
Log in with the administrator credentials you set during installation. Navigate to Identity > Active Users and click Add to create your first personal user account.
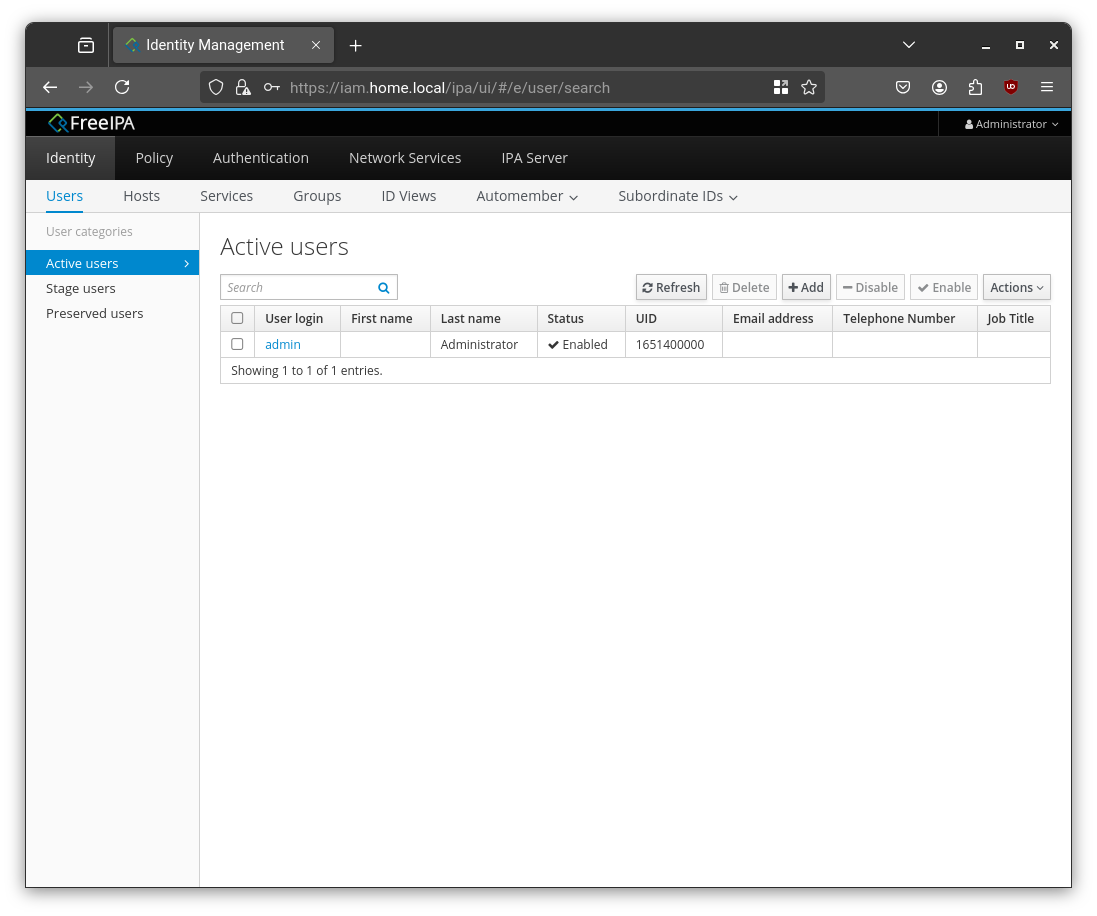
Fill in the form and click Add. From this point on, every new user in your homelab gets created here once, in one place.
Step 5: Preparing the Host for authentik
authentik is a Docker-first application, so we need Docker running on the iam VM. We’ll also make sure authentik’s data is backed up to the NAS using the same rsync-over-SSH approach we set up for the other machines in Part 7.
Installing Docker
1 | sudo dnf -y install dnf-plugins-core |
Backing Up to the NAS with rsync
Following the same pattern established in Part 7, we’ll configure a cron job on the iam VM to rsync its entire home folder, including the authentik Docker Compose file and all configuration data, to the NAS every night.
Set up SSH key authentication between iam and the NAS, then harden the NAS’s authorized_keys entry to restrict that key to the specific rsync command (as covered in Part 7). Finally, add the cron job:
1 | sudo crontab -e |
1 | 0 0 * * * rsync -avz --delete /home/user/ root@10.0.20.2:/ssd/docker/iam |
That’s it. No extra credentials file, no mount point to manage. The backup just runs nightly alongside every other machine in the homelab.
Step 6: Installing authentik
With Docker up and the backup in place, deploying authentik takes all of three commands:
1 | cd /home/user/identity/authentik |
Wait a minute for the containers to initialize, then open the first-run setup page:
http://iam.home.local:9000/if/flow/initial-setup/
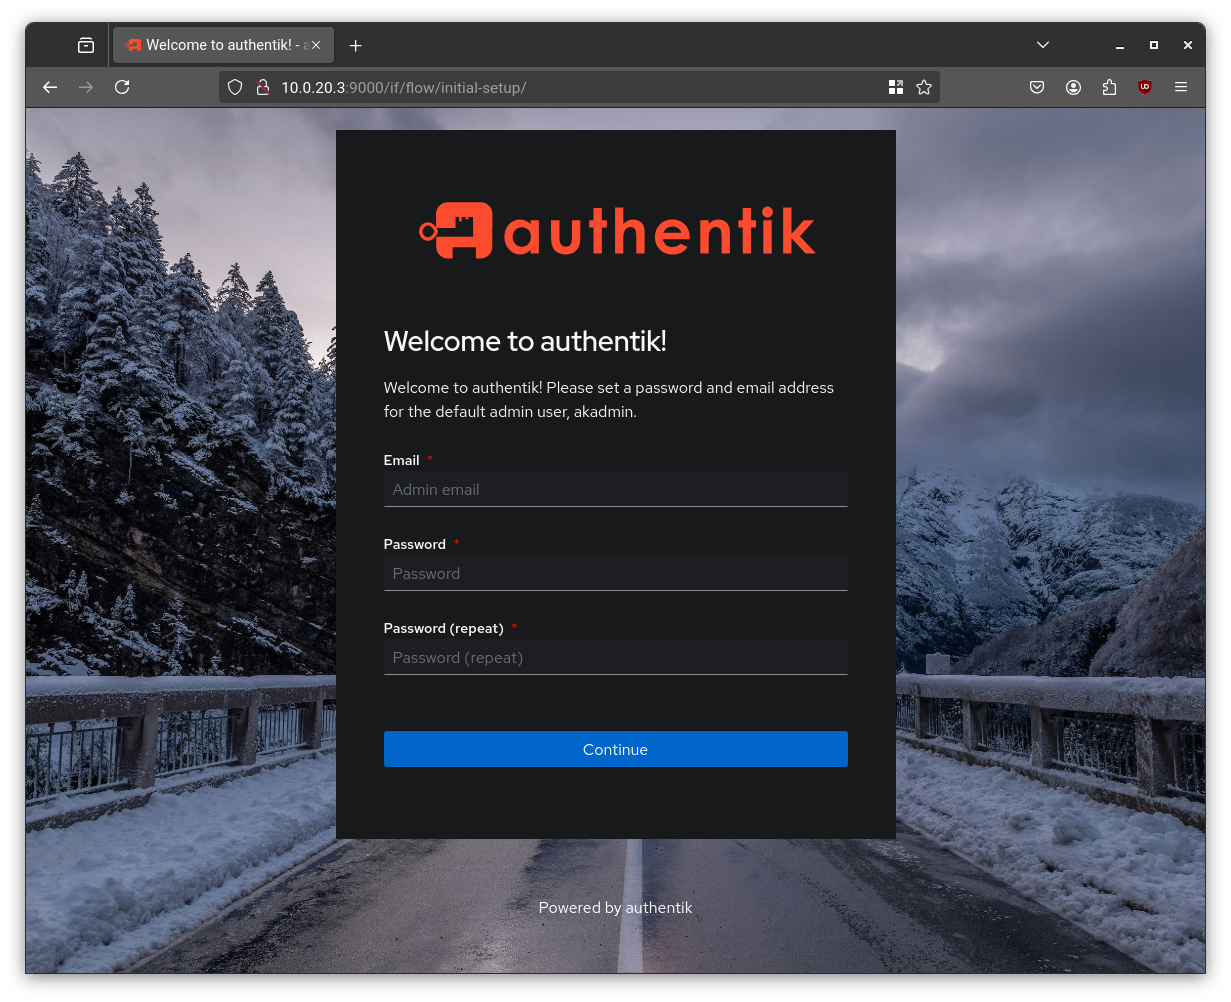
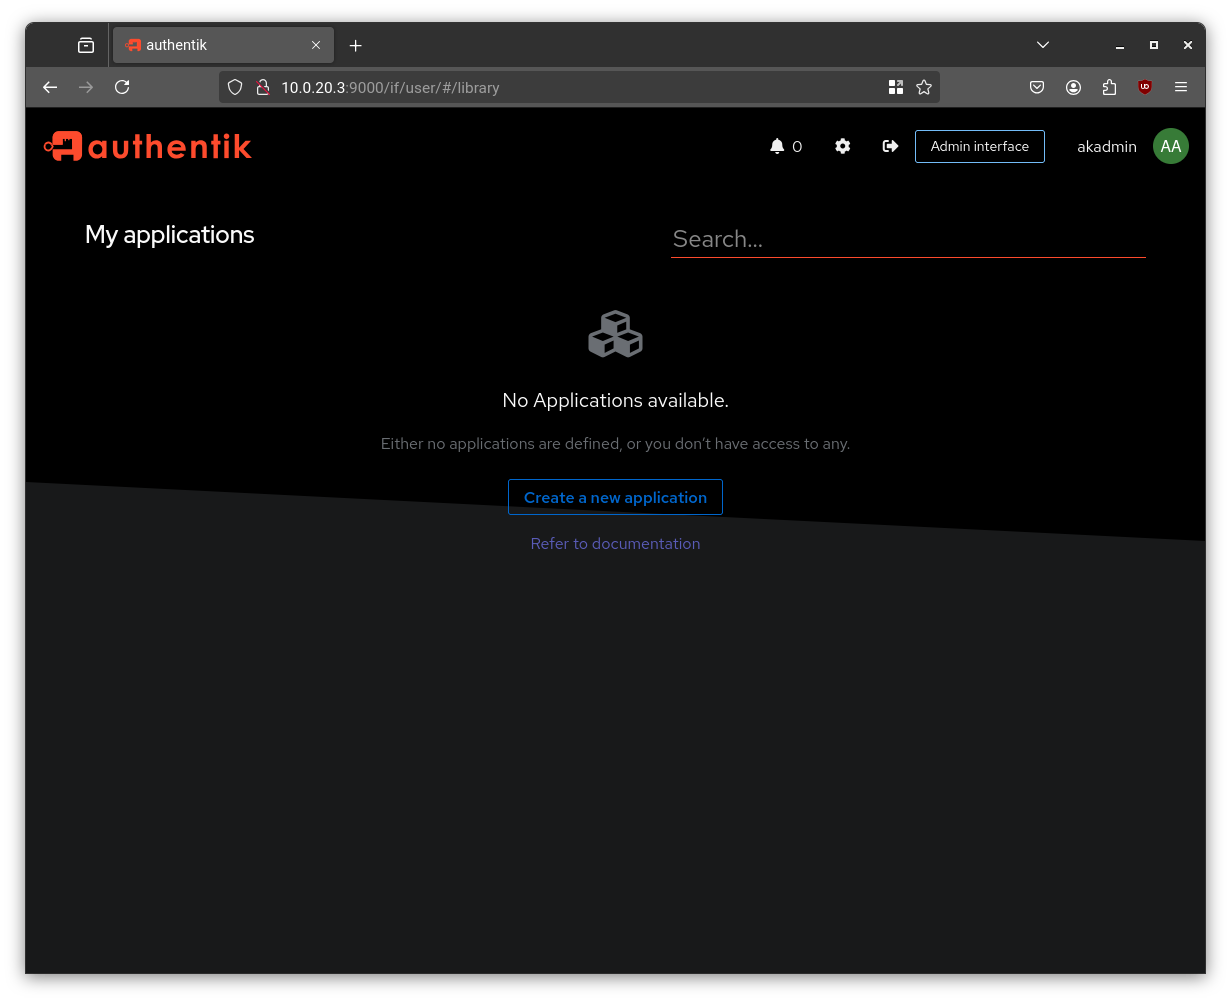
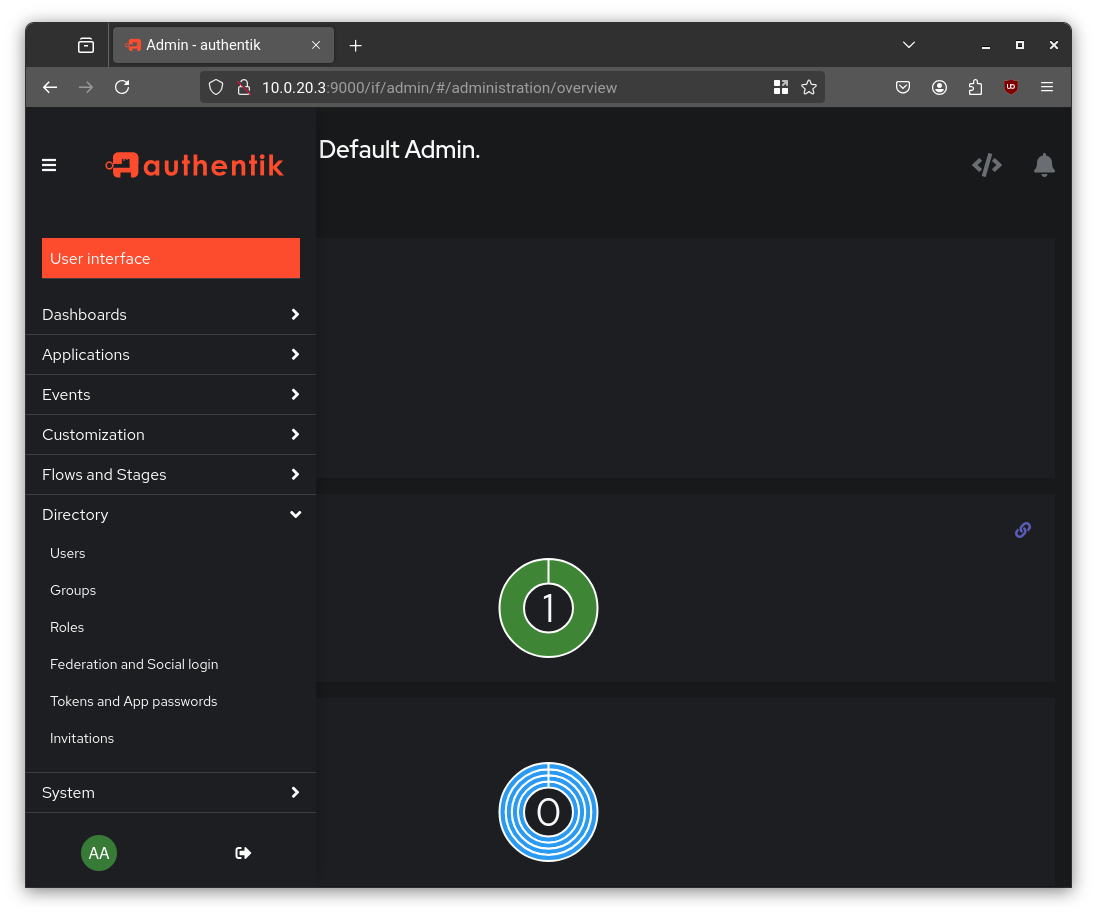
Create your admin account and you’ll land on authentik’s main dashboard.
Step 7: Connecting freeIPA to authentik
This is the step where the two systems shake hands. We’ll configure authentik to use freeIPA as its LDAP backend, so all users and groups from freeIPA automatically sync into authentik.
Creating a Service Account in freeIPA
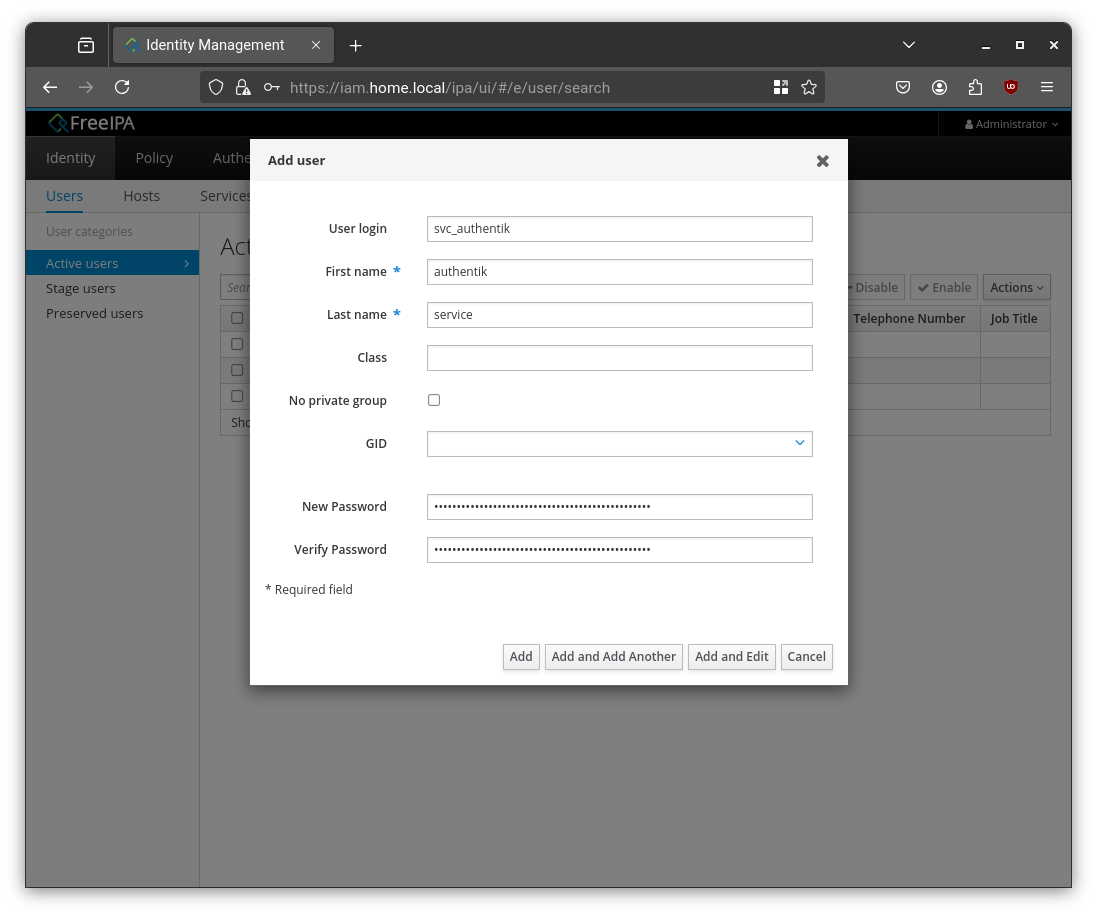
authentik needs a dedicated read/write service account to query the LDAP directory. Head back to the freeIPA web UI and create a new user called svc_authentik. Generate a strong password for it:
1 | openssl rand 36 | base64 -w 0 |
Next, assign the User Administrators role to this account. Open the user’s detail page, go to the Roles tab, and add User Administrators. This permission lets authentik handle password resets on behalf of users.

One quirk worth knowing: By default, when a freeIPA administrator resets a user’s password, freeIPA forces that user to change it on the very next login — a good corporate policy, but a friction-filled experience when authentik is doing the reset behind the scenes. To bypass this behavior specifically for
svc_authentik, run:
Then paste the following LDIF and press
Ctrl+D:
2
3
4
changetype: modify
add: passSyncManagersDNs
passSyncManagersDNs: uid=svc_authentik,cn=users,cn=accounts,dc=home,dc=local
Configuring the LDAP Source in authentik
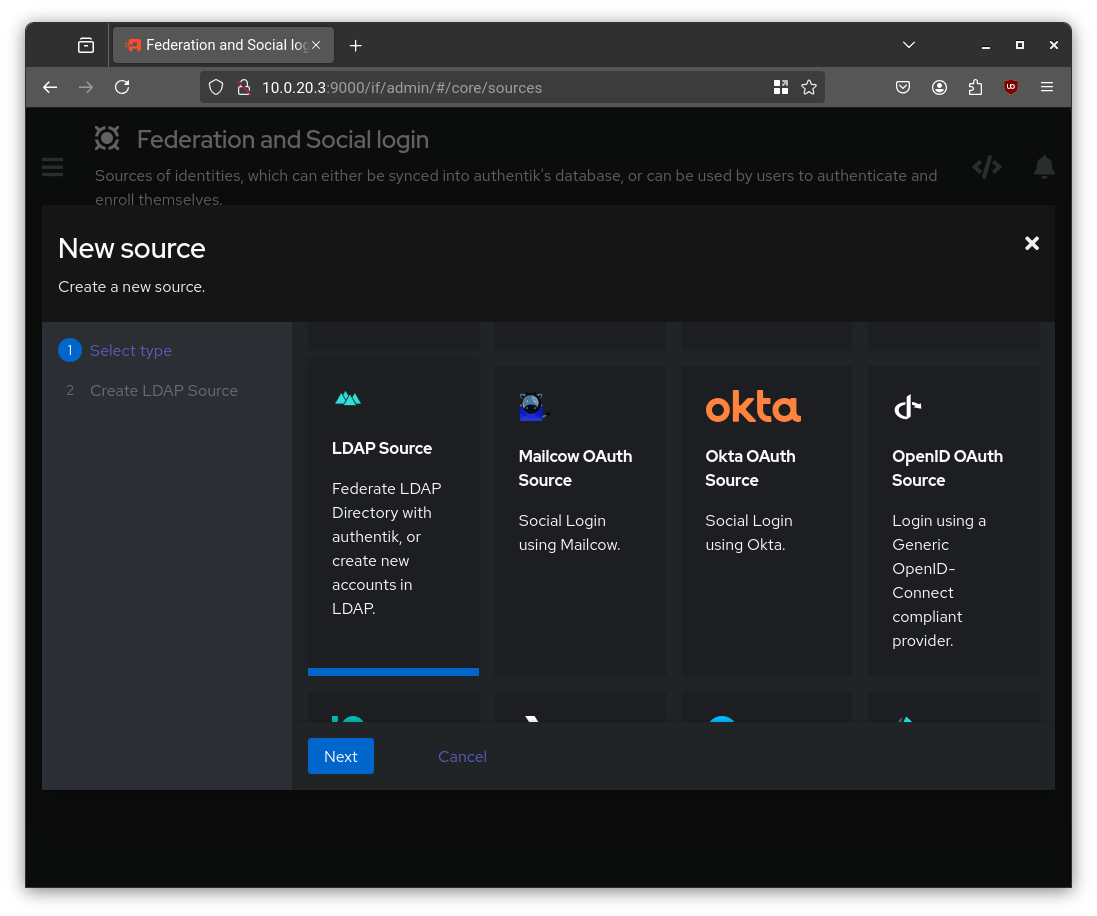
Switch to the authentik admin interface (if you’re on the user-facing portal, click the gear icon in the top right). Navigate to Directory > Federation and Social Login and click Create.
Select LDAP Source as the source type.
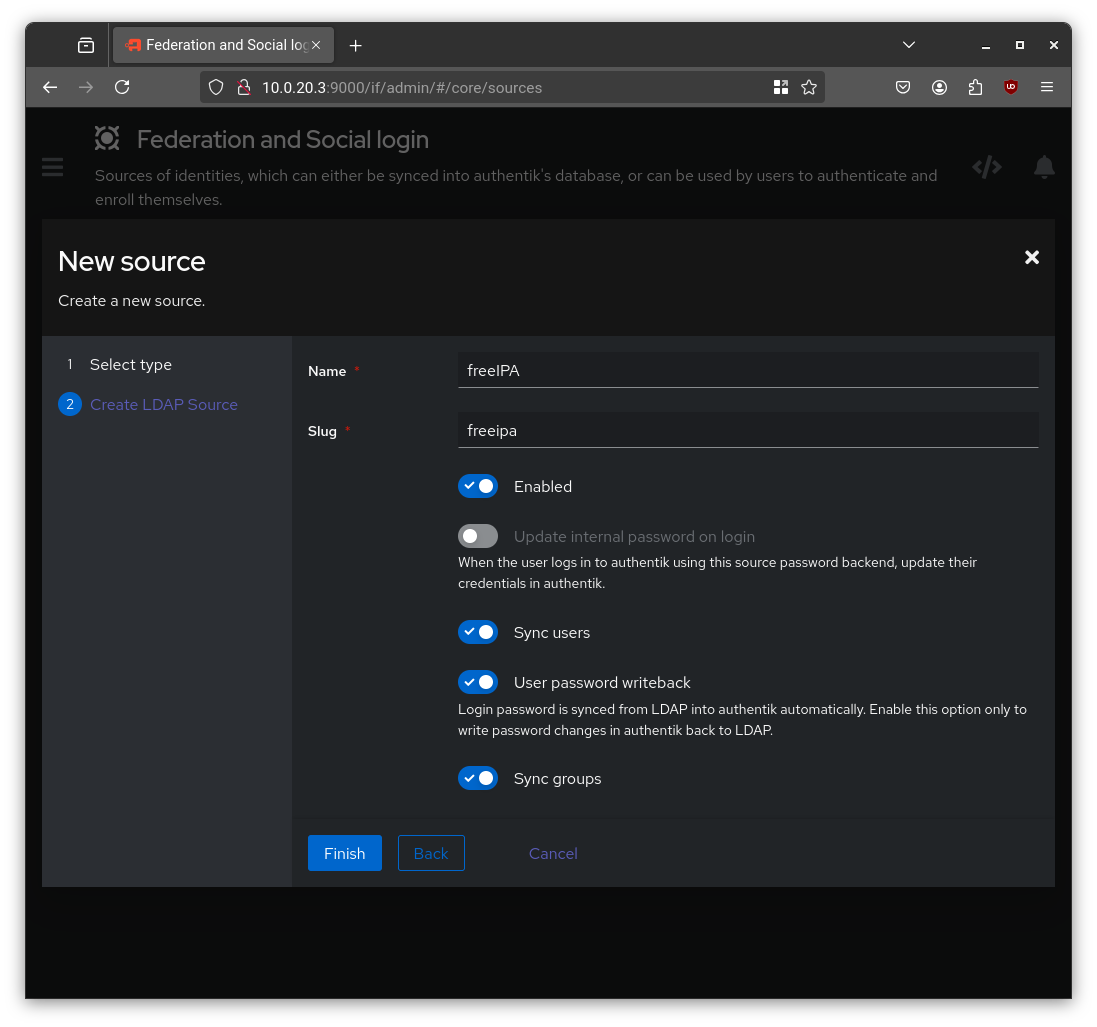
Fill in the connection details:
| Setting | Value |
|---|---|
| Name | freeIPA |
| Server URI | ldaps://iam.home.local |
| Bind CN | uid=svc_authentik,cn=users,cn=accounts,dc=home,dc=local |
| Bind Password | the password generated above |
| Base DN | dc=home,dc=local |
LDAP Source — Connection Settings
For User Property Mappings, hold Ctrl and select all entries beginning with "authentik default LDAP" and "authentik default OpenLDAP". For Group Property Mappings, select "authentik default OpenLDAP Mapping: cn".
Scroll down to the advanced settings and configure the LDAP subtrees to point authentik at the right locations within the freeIPA directory:
| Setting | Value |
|---|---|
| Additional User DN | cn=users,cn=accounts |
| Additional Group DN | cn=groups,cn=accounts |
| User Object Filter | (objectClass=person) |
| Group Object Filter | (objectClass=groupofnames) |
| Group Membership Field | member |
| Object Uniqueness Field | ipaUniqueID |
LDAP Source — Advanced Settings

Save the source. authentik will begin synchronizing users and groups from freeIPA in the background. You can trigger a manual sync from the source’s detail page to verify the integration is working. Your freeIPA users should appear in Directory > Users within seconds.
Conclusion: Your Homelab’s Master Key System
We now have a fully operational identity backbone. FreeIPA is the single source of truth for all user accounts, and authentik is the SSO layer that our applications will use to authenticate against it.
No more per-application user databases. No more “what was the password for that thing again?”. One identity, one login, everywhere.
The foundation of our homelab is now genuinely complete:
- A hypervisor (Proxmox) to run everything
- A secure, segmented network (OpenWRT)
- A resilient data store (ZFS NAS) with automated backups
- A centralized identity and access management system (freeIPA + authentik)
In the next post, we’ll finally start deploying the actual user-facing applications — and we’ll see first-hand how having a proper SSO system in place makes the whole thing dramatically cleaner.
Stay tuned! 🚀