Welcome back! In our last post, we forged the network backbone with OpenWrt, creating a secure and segmented environment for our services. With the highways built, it’s time to construct the vault. A self-hosted environment is nothing without a safe place to store its data, so today, we’re building the heart of our homelab: a resilient Network Attached Storage (NAS) solution.
My vision for a NAS is simple: a centralized, high-capacity, and reliable storage server that makes accessing my data easy and secure. To achieve this, we’ll lean on two powerful concepts: the 3-2-1 backup rule and the data integrity features of the ZFS filesystem.
The 3-2-1 backup rule is a strategy to protect data:
- 3 copies of your data (1 primary + 2 backups)
- 2 different storage types (e.g., external drive, cloud)
- 1 backup stored offsite (e.g., cloud or remote location)
In this blog post, we’ll walk through how to set up, configure, and organize your data, and how to conveniently share it using a NAS container.
My Storage Implementation
Dedicated VM Storage: My mini-PC includes three SSDs. The first will be allocated for virtual machine storage, ensuring optimal performance and separation from backup and archive workloads.
Redundant Data Archive: The remaining two SSDs will be configured in a ZFS RAID-1 mirror, providing a reliable and fault-tolerant location for snapshots, backups, and archived data. ZFS adds data integrity through self-healing checksums and protection against drive failure.
Convenient Access: To streamline access across my devices and VMs, I’ll set up a dedicated NAS machine (as an LXC container) and configure multiple sharing protocols (NFS, SMB, and Syncthing) to make data accessible across all my devices and VMs.
Offsite Backup: For added resilience, the mirrored ZFS pool will be replicated to an external HDD managed by a Raspberry Pi located offsite 400km away. This ensures secure, remote backups in case of local hardware failure or data loss.
Step 1: Setting up the ZFS Storage Pool
The first step takes place on the Proxmox host itself, where I initialized my two data SSDs.
Identify the Drives: Before doing anything, it’s critical to identify the correct drive names (
lsblk). In my case, they were/dev/nvme0n1and/dev/nvme1n1.Wipe the Drives: To ensure a clean slate, I zapped all existing partition tables.
1 | sgdisk --zap-all /dev/nvme0n1 |
- Create the ZFS Pool: I then created a new, encrypted ZFS pool in a RAID-1 configuration (mirror). The command below sets up the pool with modern features like LZ4 compression, TRIM for SSD health, and encryption. The encryption key is stored in a file on the host for automatic mounting on boot.
1 | # Create an encryption keyfile |
ZFS ARC Memory Usage and Tuning
By default, ZFS uses up to 50% of system memory for the Adaptive Replacement Cache (ARC). This caching mechanism plays a critical role in I/O performance, so any reduction should be made with care.
A good rule of thumb for ARC sizing is:
2 GiB base + 1 GiB per TiB of usable storage
For example, a system with a 2 TiB ZFS pool should allocate at least 4 GiB for ARC. Keep in mind that ZFS enforces a minimum ARC size of 64 MiB.
To make ARC limits persistent across reboots, add (or modify) the following lines in /etc/modprobe.d/zfs.conf:
1 | options zfs zfs_arc_max=4294967296 # 4 GiB |
These values are in bytes, so 4 * 2^30 for 4 GiB and 1 * 2^30 for 1 GiB.
⚠️ Important: If
zfs_arc_maxis less than or equal tozfs_arc_min(which defaults to 1/32 of total system RAM), it will be ignored unless you explicitly setzfs_arc_minto a value less thanzfs_arc_max.
Step 2: Organizing Our Data with ZFS Datasets
One of the best features of ZFS is the ability to create “datasets”, which are like smart, independent filesystems within the main pool. This allows us to apply different settings for different types of data.
Here’s the structure I created:
1 | # For personal files from Nextcloud, Immich, etc. |
Step 3: Building the NAS Machine (LXC Container)
With our storage pool ready, we need a machine to manage and serve it. I created a privileged Debian LXC container to act as our NAS. A privileged container is necessary to support NFS, which requires kernel-level access.
After creating the container, I passed the ZFS datasets directly into it by editing its configuration file (/etc/pve/lxc/<ID>.conf) on the Proxmox host:
1 | mp0: /ssd/archive,mp=/ssd/archive |
This makes the storage pools appear as local directories inside the container, ready to be shared.
Step 4: Configuring the Sharing Protocols
Inside the NAS container, I set up three different sharing methods to cover all my use cases.
NFS for Linux Machines: Ideal for sharing data with other VMs and Linux systems on my network. After installing
nfs-kernel-serveron both the Proxmox host and the NAS container, I configured/etc/exportsin the NAS to share thessd/archivedataset.SMB/Samba for Cross-Platform Sharing: The universal standard for sharing with Windows, macOS, and Linux. I installed
samba, created a dedicated user, and configured a secure share in/etc/samba/smb.confpointing to thessd/share/sambadirectory.Syncthing for Real-Time Device Sync: A fantastic tool for keeping folders synchronized across my phone, laptop, and other devices. I installed Syncthing and configured it to run as a systemd service, using the
ssd/syncdataset as its primary folder.
Configuring NFS Server
These are the steps to setup and configure an NFS server on the NAS machine.
To enable NFS in an LXC container on Proxmox, first install
nfs-kernel-serveron the Proxmox host, since NFS relies on kernel modules which are shared with containers.Next, configure the container as privileged and enable nesting.
This is an example of my /etc/pve/lxc/202.conf file
1 | arch: amd64 |
- Then start the container and run:
1
2
3
4
5
6
7
8
9
10
11
12
13
14
15
16
17
18
19
20# Install nfs also on container
apt install nfs-kernel-server
# Setup a shared directory
echo "/ssd/archive 10.0.20.0(rw,sync,no_subtree_check)" > /etc/exports
# Adjust the desired permissions on the folder, e.g.
chown 1000:1000 /ssd/archive
# Apply changes in /etc/exports
exportfs -a
# Reset current and apply new changes in /etc/exports
exportfs -ra
# Check shared directories
exportfs -v
# Check the status of nfs-kernel-server
systemctl status nfs-kernel-server
Your container now exposes /ssd/archive via NFS, ready to be mounted by remote machines.
Mounting NFS Folder
These are the steps to follow to mount the NFS folder on a machine.
Install the nfs client package and mount the NFS share folder.
1
2
3
4
5
6
7
8# On Debian/Ubuntu
sudo apt install nfs-common
# On Fedora
sudo dnf install nfs-utils
# Mount the remote NFS share
sudo mount <nfs-server-ip>:<remote-path> <local-mount-point>To make the mount persistent across reboots, add the following line to
/etc/fstab:1
10.0.20.2:/ssd/archive /mnt/archive nfs4 rw,tcp,intr,noatime 0 0
Replace the IP address, remote path, and local mount point with your actual setup.
Setting up Samba SMB Server
These are the steps to setup and configure an SMB server on the NAS machine.
- Install Samba on the container
1 | sudo apt install samba |
- Create a Dedicated Samba User and Group
1 | # Create a group for Samba users |
Useful Samba User Management Commands
1 | # Remove a Samba user (does not delete the Unix user) |
- Configure Samba:
/etc/samba/smb.conf
Edit your Samba configuration file:
1 | [global] |
- Create and Set Permissions for the Shared Folder
1
2
3
4
5
6# Create the shared folder
sudo mkdir -p /ssd/share/samba
# Set group ownership and permissions
sudo chown root:sambausers /ssd/share/samba
sudo chmod 2770 /ssd/share/samba
The 2770 permission ensures that:
- Only the owner and group can read/write/execute
- New files inherit the group (
setgidbit)
- Restart Samba
1
sudo systemctl restart smbd
You’re now ready to connect to your Samba share from other devices using the samba user credentials.
Mounting SMB share
Install the cifs package
1
apt install cifs-utils
Mount the share
1 | mount -t cifs //server/share ~/sambashare -o username=your_samba_username,password=your_samba_password,uid=1000,gid=1000,iocharset=utf8,vers=3.0 |
If you want to setup an auto-mount, add the credentials into a file
~/.smbcredentials
1 | username=your_samba_username |
Ensure to secure the password by setting restrictive permissions
1 | chmod 600 ~/.smbcredentials |
Append the following line to /etc/fstab file
1 | //server/share /home/username/sambashare cifs credentials=/home/username/.smbcredentials,uid=username,gid=groupname,iocharset=utf8,vers=3.0 0 0 |
Setting Up a Synced Folder with Syncthing
To enable continuous file synchronization via Syncthing, start by setting up the package repository and creating a dedicated system user.
- Add Syncthing Package Repository
First, add the Syncthing signing key and configure the APT source list:
1 | sudo mkdir -p /etc/apt/keyrings |
Install Syncthing:
1 | sudo apt update |
- Create a Dedicated Syncthing User and Directory
1 | # Create the sync folder |
- Configure the Systemd Service
Create a systemd unit file at /etc/systemd/system/syncthing@.service:
(This file is based on the official systemd unit file)
1 | [Unit] |
- Enable and Start the Service
Enable and start Syncthing for the dedicated user:
1 | sudo systemctl enable syncthing@syncthing.service |
- Access the Web Interface
By default, Syncthing’s web UI binds to localhost only. To access it remotely, set up an SSH port forward:
1 | # Replace user@nas with your actual SSH user and NAS hostname/IP |
Then navigate to:http://localhost:8022/ on your local browser.
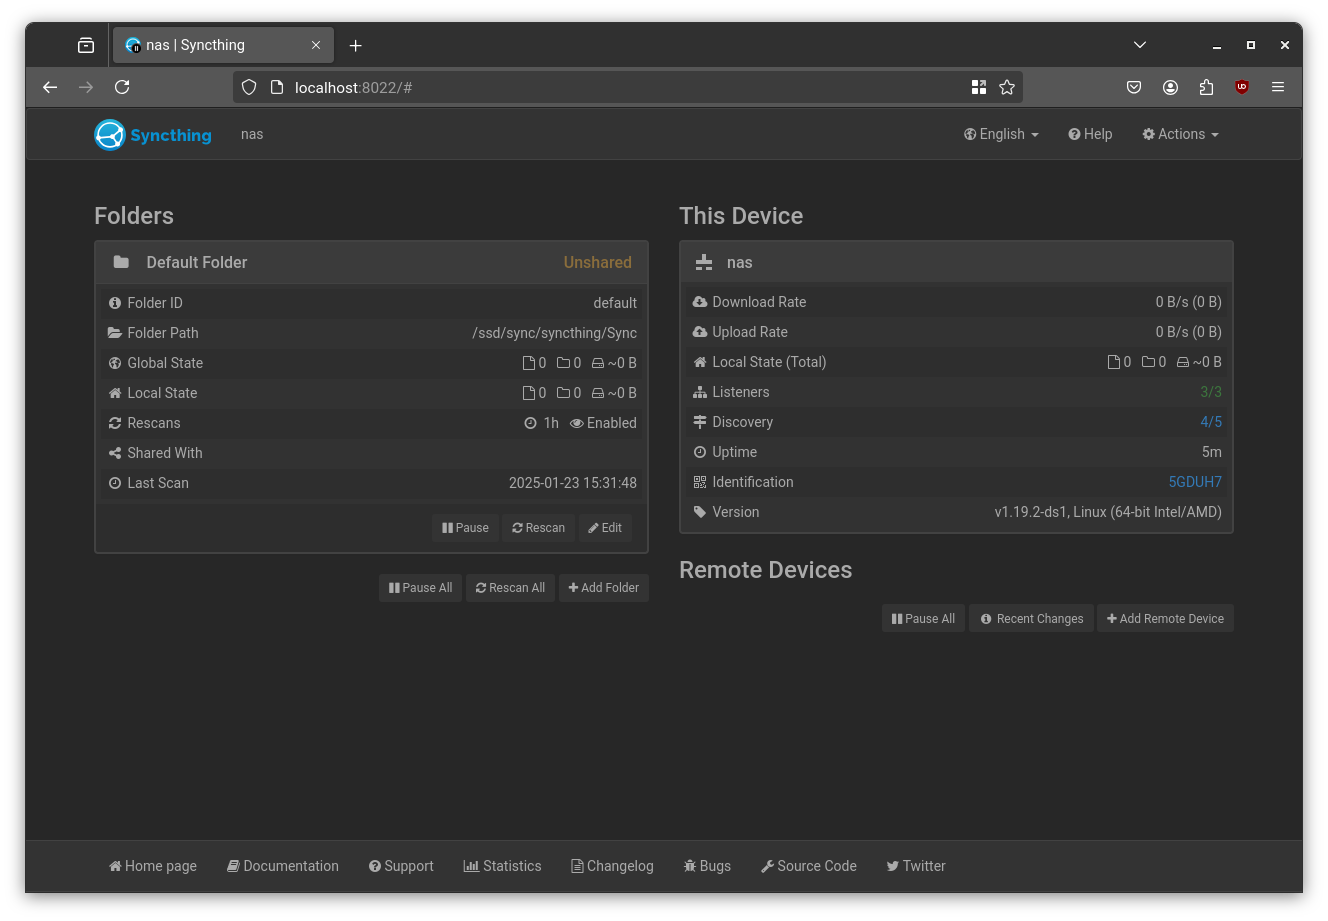
This allows secure and quick access to the Syncthing interface without exposing it to the wider network.
Conclusion
In this post, we’ve laid the groundwork for our storage system. Our data now lives on a resilient, self-healing, and mirrored ZFS pool, with seamless access from any device on the network.
In the next post, we’ll take it a step further, organizing and automating backups and snapshots to protect your data against nearly any threat.
Stay tuned! 🚀