The planning is done, the hardware has arrived, and the excitement is real. It’s time to move from blueprint to build. The very first step is to install the hypervisor, the operating system that will manage all our virtual machines and containers. As planned, we’ll be using Proxmox VE.
In this post, I’ll walk you through preparing the installer, installing Proxmox, and performing the essential post-installation tasks to create a robust and flexible foundation for our homelab.
Step 1: Preparing the Proxmox Installer
Before we can do anything on the new mini-PC, we need to create a bootable USB drive on another computer.
Download the Proxmox ISO
Visit the Proxmox VE download page and copy the ISO link. In this example, I’ll use version
8.3-1.1
2cd /tmp
wget https://enterprise.proxmox.com/iso/proxmox-ve_8.3-1.isoVerify the Download (Optional but Recommended)
1
shasum -a 256 proxmox-ve_8.3-1.iso
Ensure the output matches the checksum listed on the Proxmox website.
Create a Bootable USB
Insert a USB drive (at least 2GB), identify it using
lsblk, and write the ISO with:1
2sudo umount /dev/sdX1 # Replace sdX1 with your USB partition
sudo dd bs=1M conv=fdatasync if=proxmox-ve_8.3-1.iso of=/dev/sdX⚠️ Make sure to double-check the device name (e.g.,
/dev/sdX) to avoid overwriting the wrong disk.Boot from USB
Plug the USB into your target machine, boot from it, and begin the installation.
Step 2: Installing the Proxmox OS
The process is straightforward, but one key decision is the filesystem. The rest of the setup involves setting your location, password, and network configuration.
Proxmox Setup
Choosing the Filesystem
For less experienced readers, here’s a brief and simplified explanation of what a filesystem is.
Whenever you format an entire disk or a partition, such as when installing a new operating system, you’re asked to choose a filesystem for that partition. A filesystem is the method an operating system uses to organize and store data on a storage device like a hard drive (HDD), solid-state drive (SSD), or USB stick. It determines how files are named, saved, accessed, and managed.
The choice of filesystem can affect several important aspects, including:
- Performance
- Compatibility
- Security
- Limits on file and volume size
Example: If you’re using a USB drive that needs to work with both Windows and macOS, FAT32 or exFAT is a good choice because of its broad compatibility. On the other hand, if you’re setting up a Linux server, ext4 is usually a better option due to its reliability and performance.
The most common filesystems for computer workstations are:
- FAT32 – Simple and widely compatible (Windows, macOS, Linux), but limited to files no larger than 4 GB.
- NTFS – Used by Windows; supports large files and file permissions.
- ext4 – Commonly used on Linux; reliable and fast.
- APFS – Used by macOS; optimized for SSDs.
Since I am working only with Linux systems and also plan to create a NAS solution, I need to evaluate more advanced Linux filesystems that are optimized for specific purposes.
The following table summarizes key information about the most common linux-compatible filesystems.
| EXT4 | XFS | BtrFS | OpenZFS | |
|---|---|---|---|---|
| Online Enlarge | ✅ | ✅ | ✅ | ✅ |
| Online Shrink | ❌ | ❌ | ✅ | ❌ |
| Offline Enlarge | ✅ | ✅ | ❌ | ❌ |
| Offline Shrink | ✅ | ❌ | ❌ | ❌ |
| Compression | ❌ | ❌ | ✅ | ✅ |
| Encryption | ❌ | ❌ | ❌ | ✅ |
| Checksum | ❌ (only on metadata) | ❌ (only on metadata) | ✅ | ✅ |
| Snapshots | ❌ | ❌ | ✅ | ✅ |
| Deduplication | ❌ | ✅ | ✅ | ✅ |
| Journaling | ✅ | ✅ | CoW | CoW |
| RAID Support | ❌ | ❌ | Basic | Advanced |
| Limitations | Few | Few | Needs regular scrub/rebalance; unstable RAID 5/6 | High RAM usage, Kernel Out-of-tree module, Max usage limit 94% |
| Best For | General Purpose | Large files | Modern Linux Distros | Storage |
Linux Filesystems Comparison
My Choice
As I outlined in my planning post, I have three SSDs.
For the Proxmox OS drive: I chose EXT4. It’s simple, stable, and perfectly suited for the hypervisor’s operating system.
For the two data drives: I will configure these later with ZFS in a RAID-1 mirror. ZFS offers advanced features like data integrity, snapshots, and encryption, which are ideal for a reliable NAS.
Once the installation finishes, the system will reboot. You can now access the Proxmox web interface from another computer on the same LAN at:
1 | https://your-ip-address:8006 |
Step 3: Essential Post-Installation Tweaks
With Proxmox running, a few initial configuration steps will set us up for success.
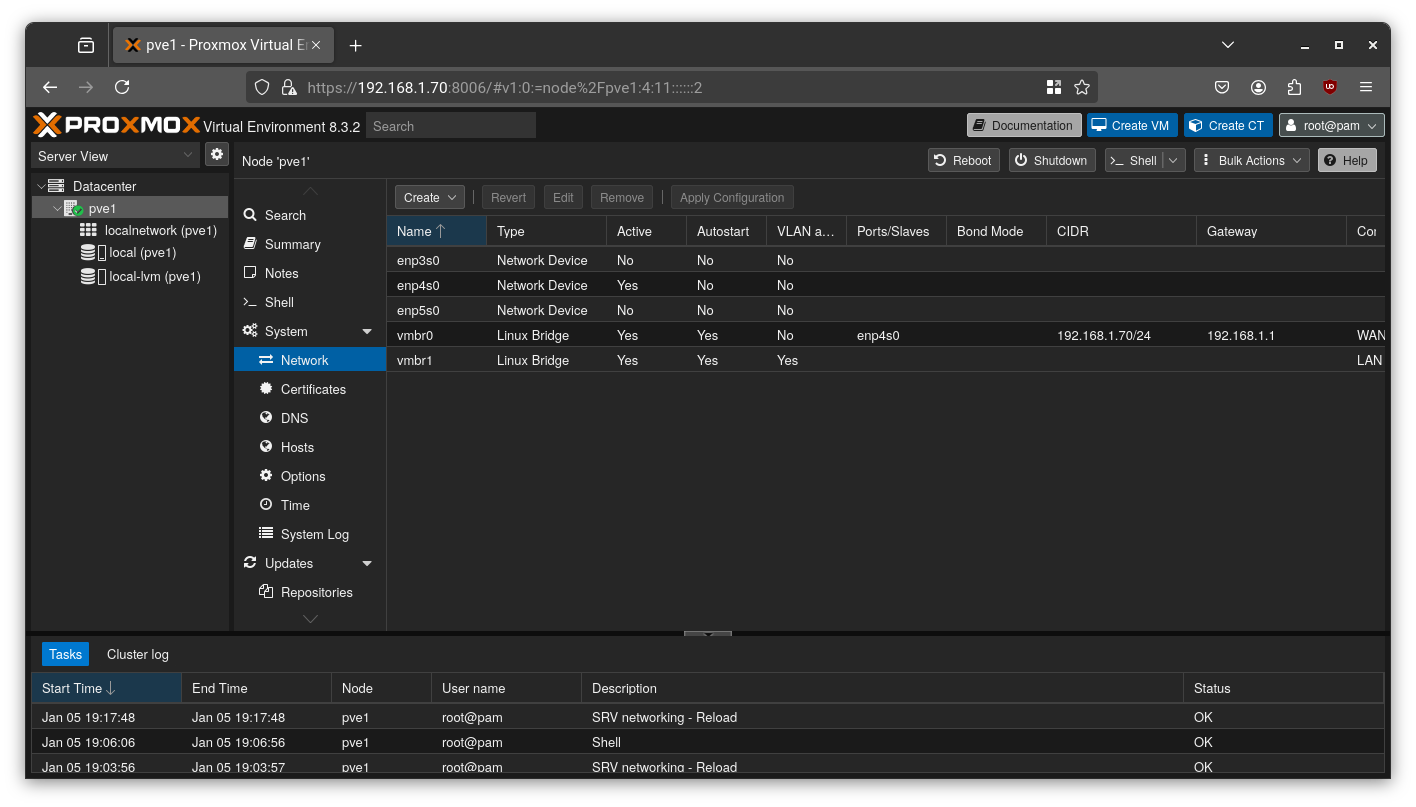
1. Configure Community Repositories: By default, Proxmox uses enterprise repositories that require a paid subscription. For a homelab, we’ll switch to the free, “no-subscription” repositories.
- In the Proxmox UI, go to
Datacenter > pve > Updates > Repositories. - Disable the
pve-enterpriserepository. - Click Add, select the No-Subscription repository, and add it.
- Reload the package list to apply the changes.

2. Set Up Network Bridges: As planned, we’ll use an OpenWRT VM to manage our network. To facilitate this, we need two “virtual switches” (Linux Bridges): one for the public internet (WAN) and one for our private network (LAN).
- vmbr0 (WAN): Proxmox creates this bridge by default during installation. We’ll connect this to our physical internet connection.
- vmbr1 (LAN): We need to create this one. Go to
pve > System > Network, click Create > Linux Bridge, name itvmbr1, and check the VLAN Aware box. This bridge will handle all our internal VM traffic.
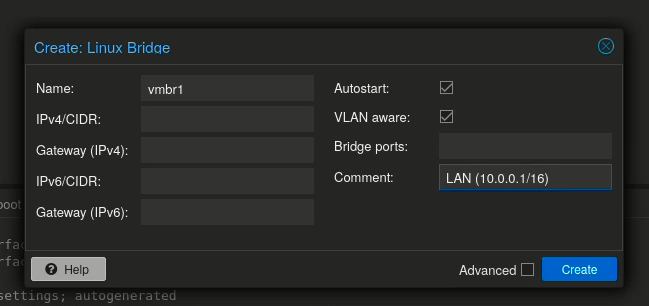
This setup gives our future OpenWRT VM the connections it needs to route traffic between our home environment and the outside world.
Step 4: Building Our VM Factory with Cloud-Init
To speed up VM creation, we’ll create templates. Instead of installing an OS from scratch every time, we can clone a template and have a new machine running in seconds. The magic behind this is Cloud-Init, a tool that automates the initial setup (hostname, users, SSH keys, etc.).
I’ll cover two ways to create cloud-init templates:
Method 1: Manual ISO-Based Installation
Step 1: Download the ISO
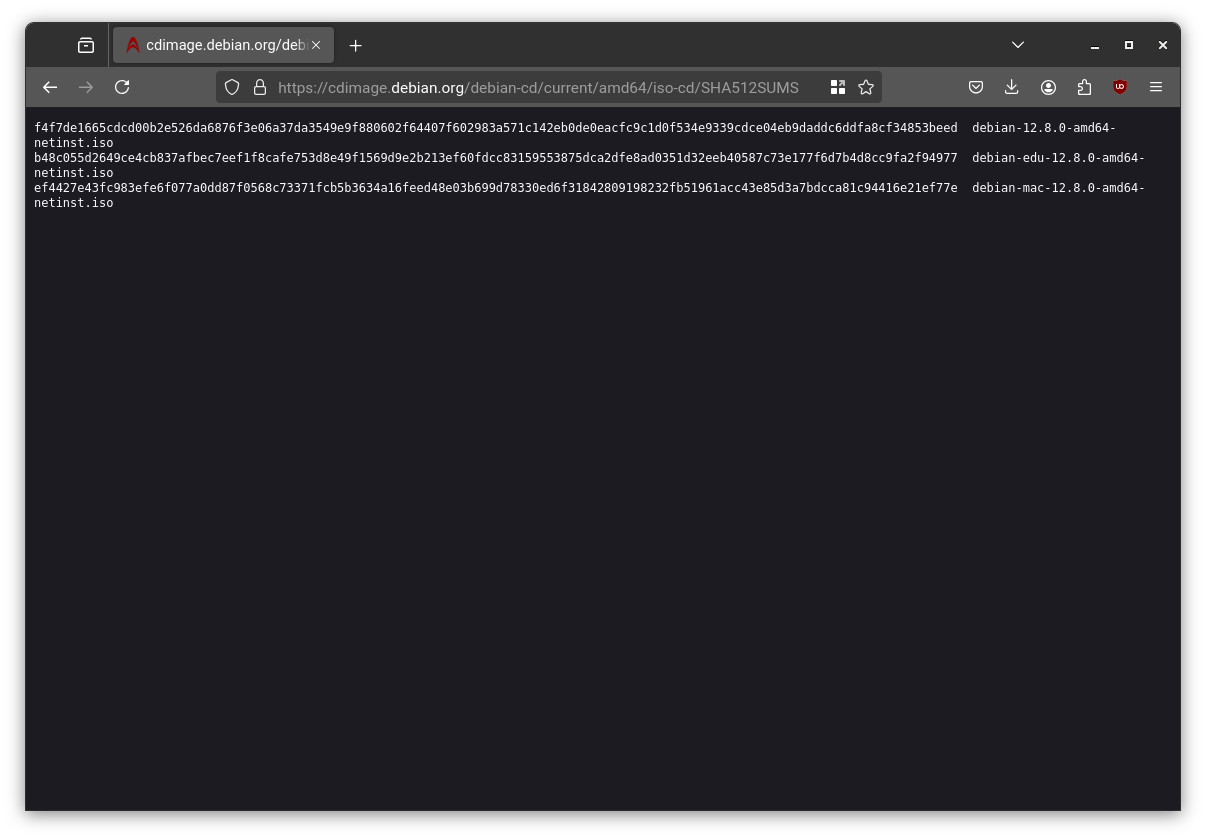
Visit the Debian download page and grab the netinst ISO.
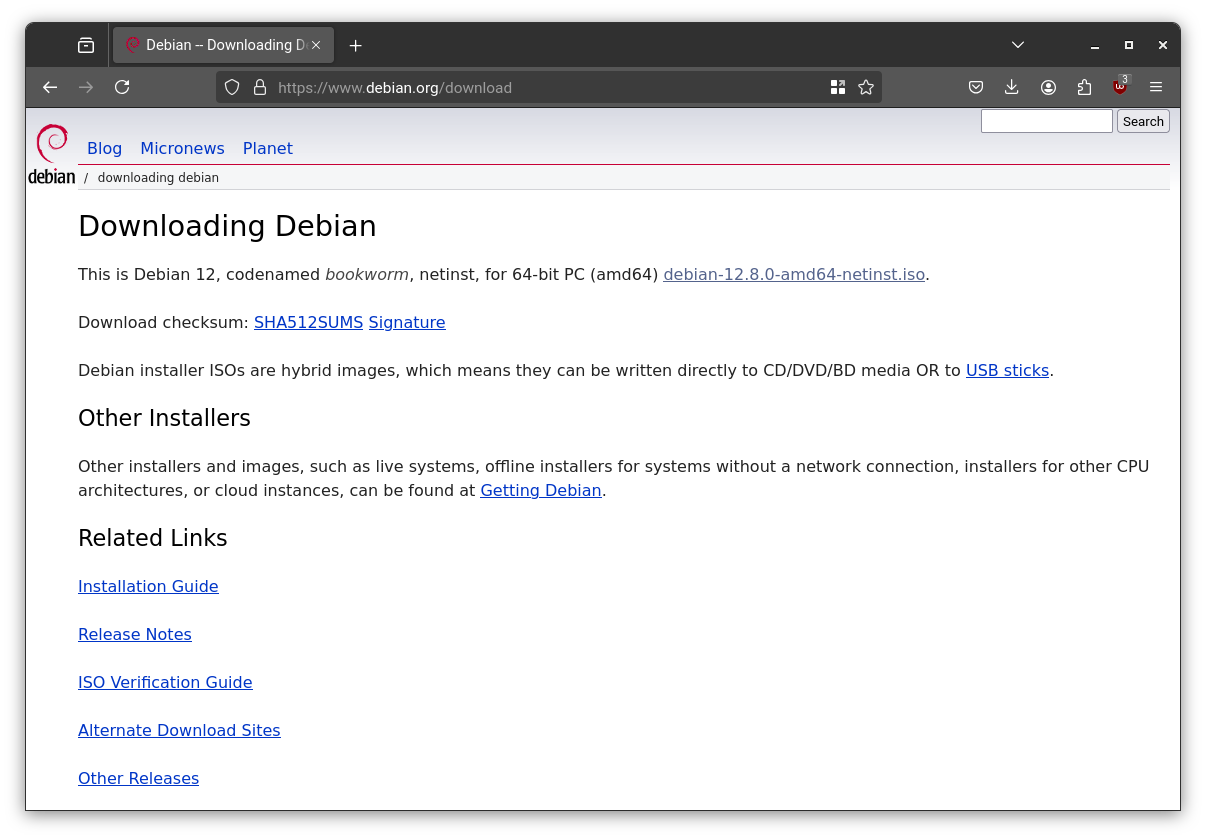
For example:
1 | https://cdimage.debian.org/debian-cd/current/amd64/iso-cd/debian-12.8.0-amd64-netinst.iso |
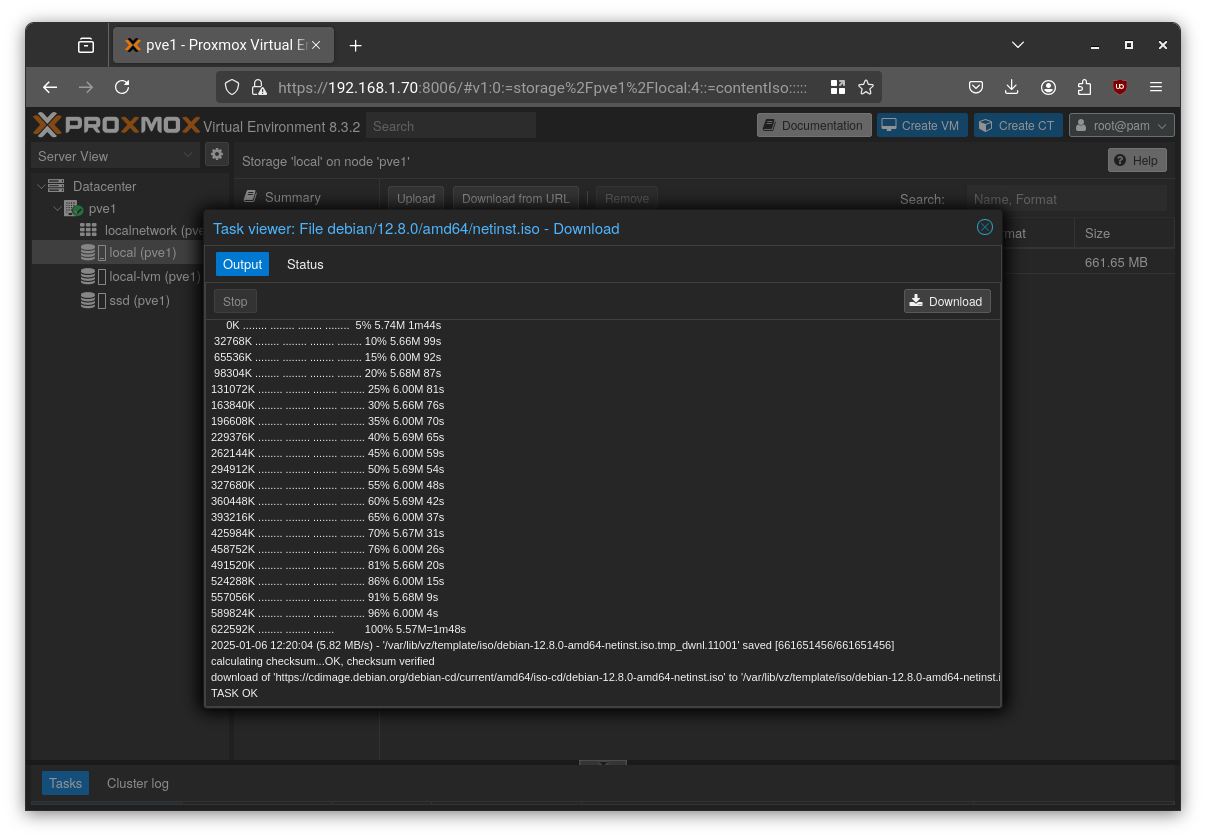
Save the SHA-512 checksum and upload the ISO in Proxmox via:
Datacenter > pve1 > local(pve1) > ISO Images > Download from URL
Paste the ISO URL, click Query URL, then select the hash algorithm and paste the SHA-512 value for automatic verification.
Step 2: Create a VM
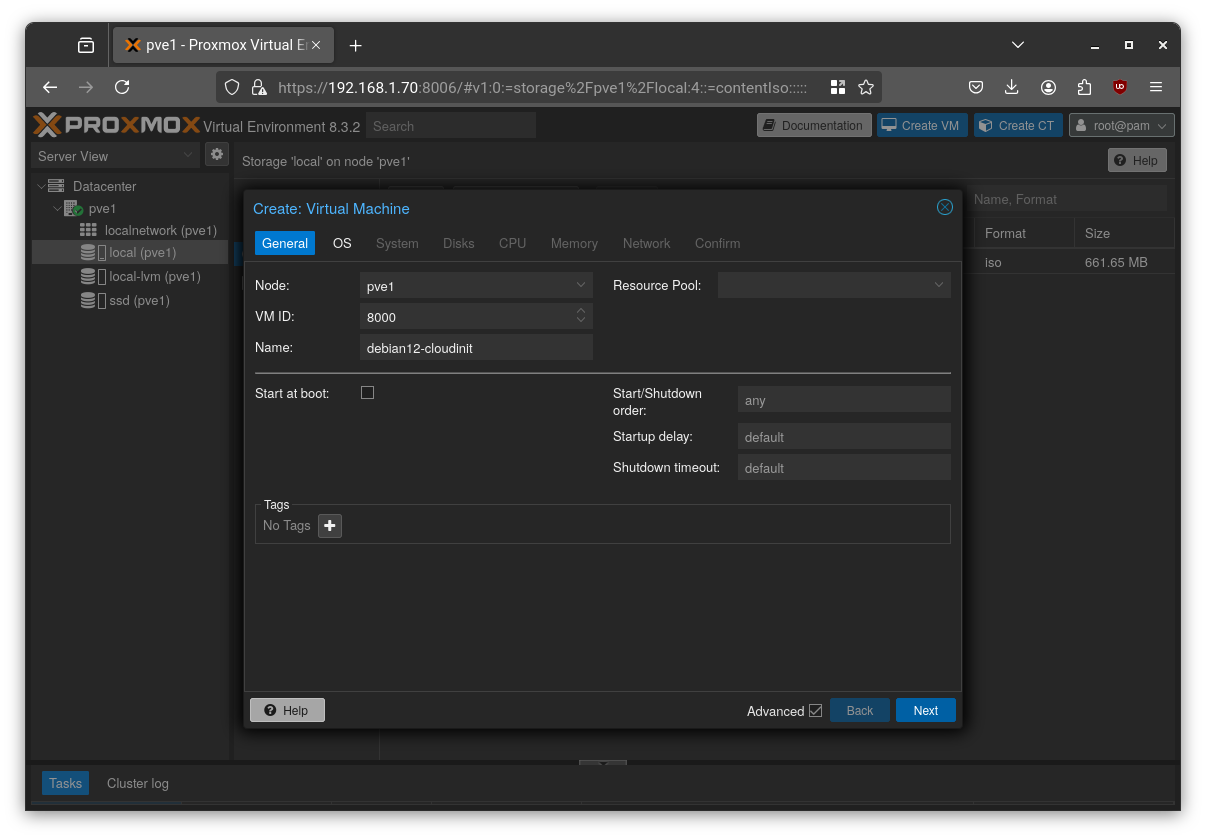
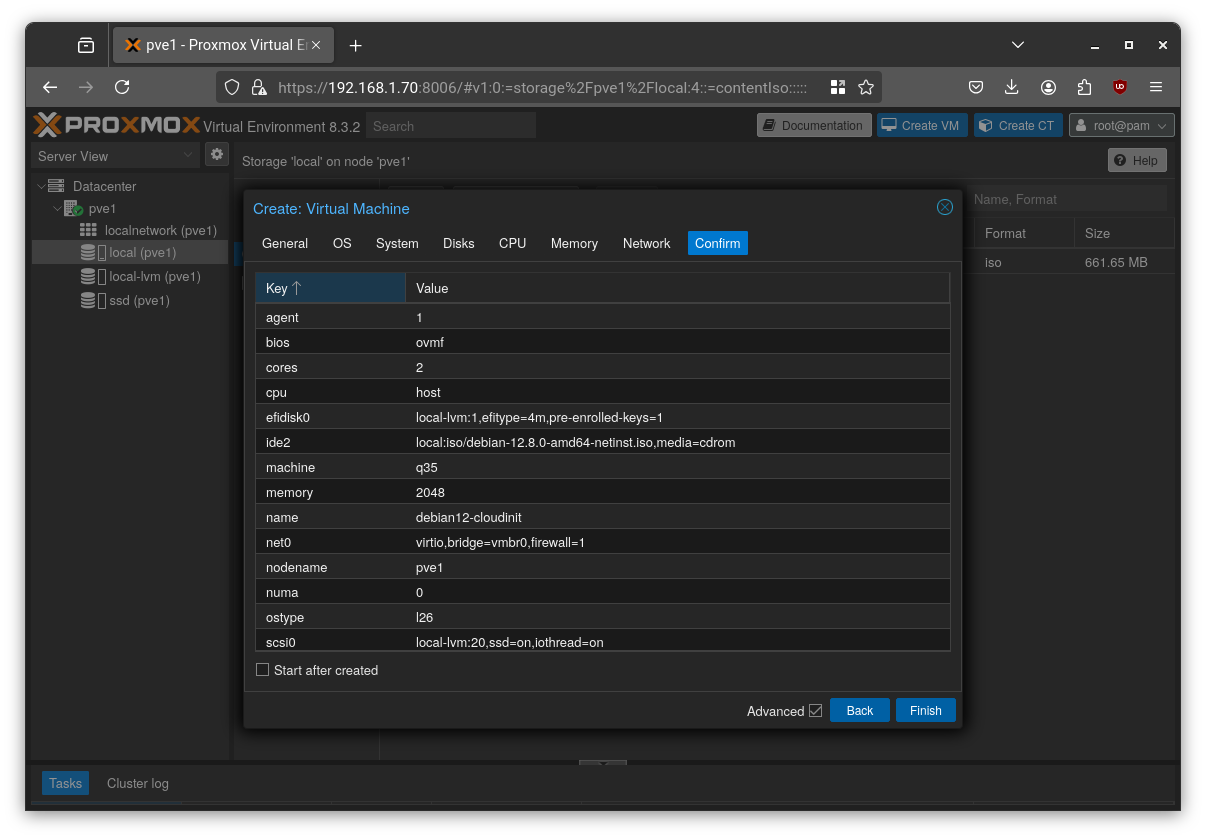
Create a new VM manually as follow:
Choose an ID. I will use 8000 for templates.
Choose a name for the template.
Select the image you previously downloaded as ISO image.
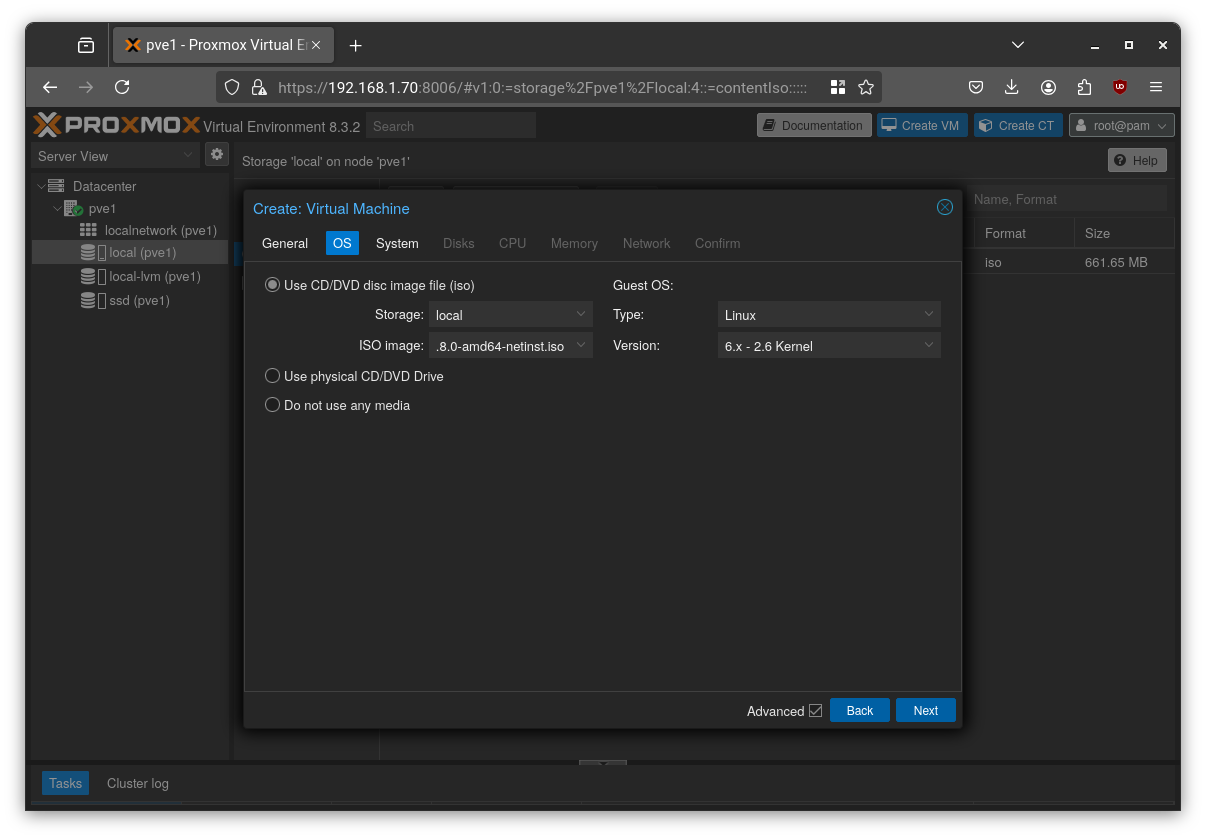
Select “q35” as the machine type, enable “QEMU Agent”, and optionally choose UEFI BIOS (as I did).
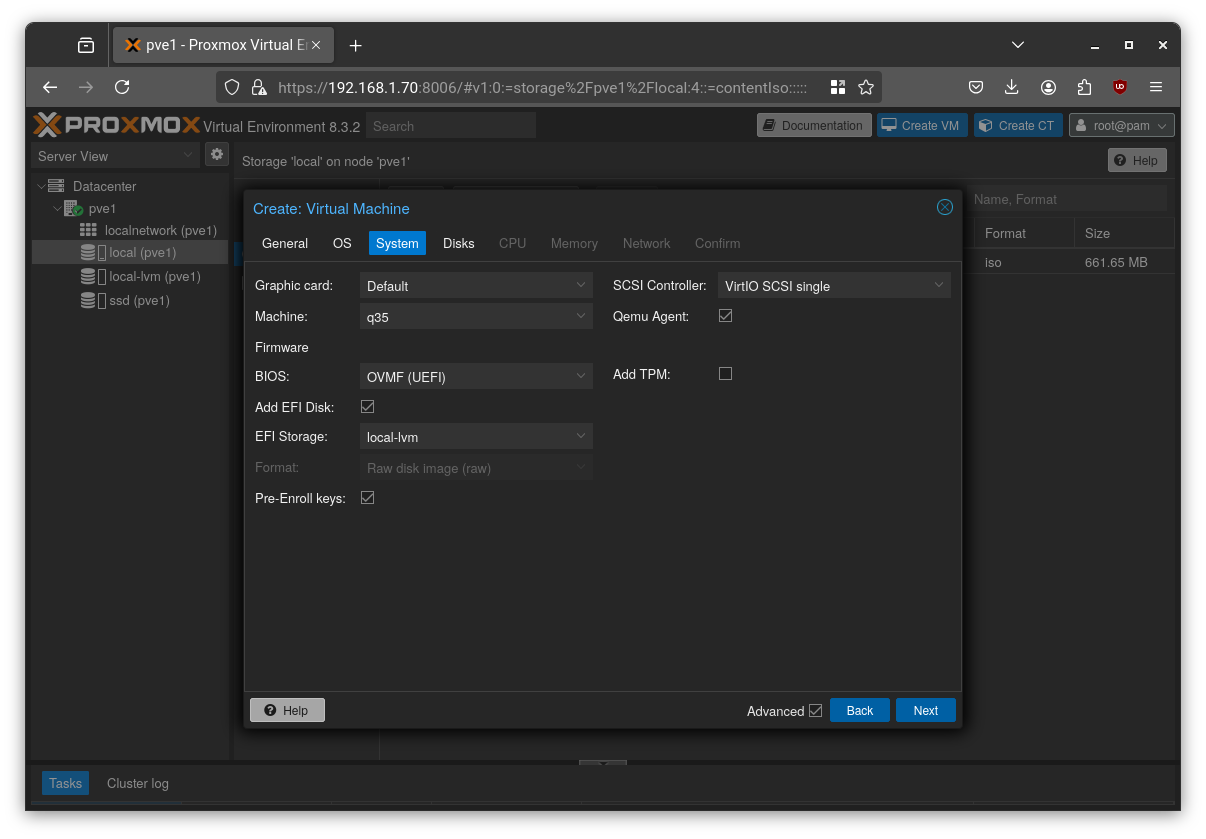
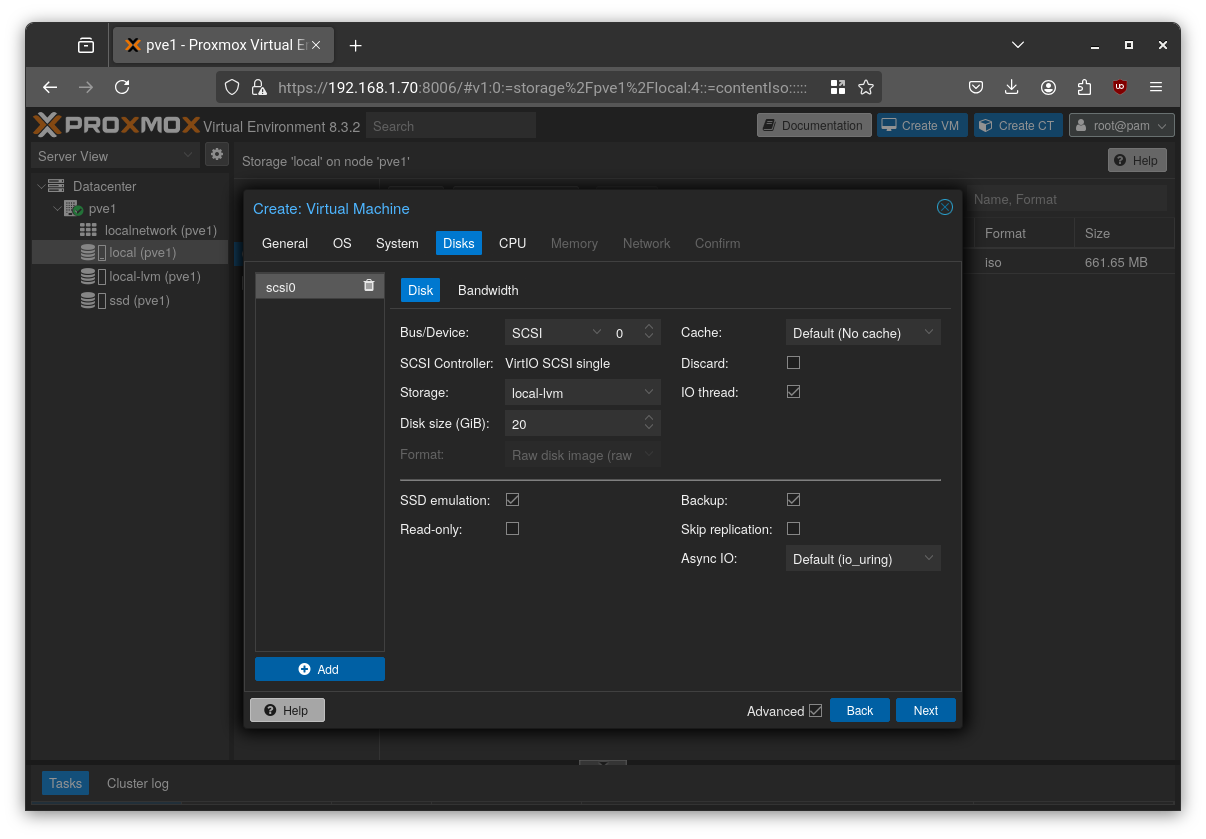
Select a disk size. If you’re using SSDs, choose “SSD emulation”, and leave the other options at their defaults.
Select “host” as the CPU type and leave the other options at their defaults.
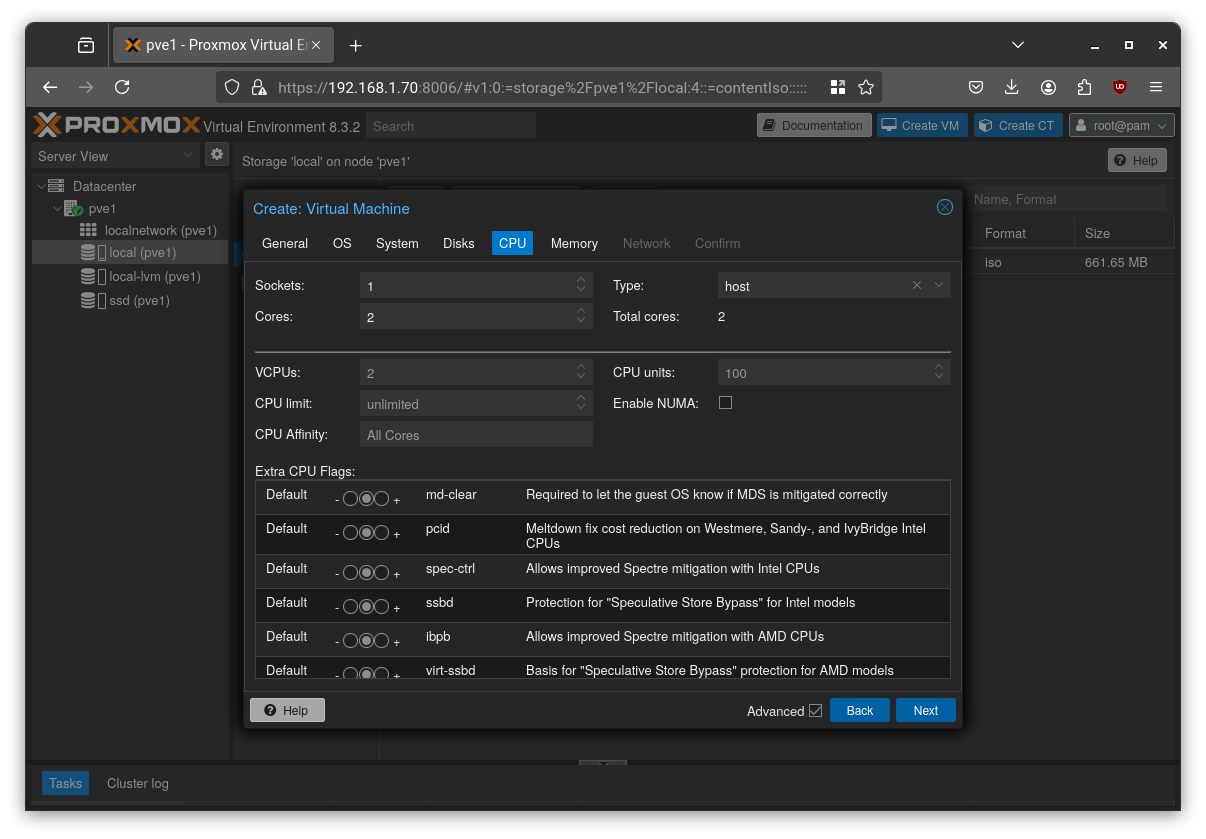
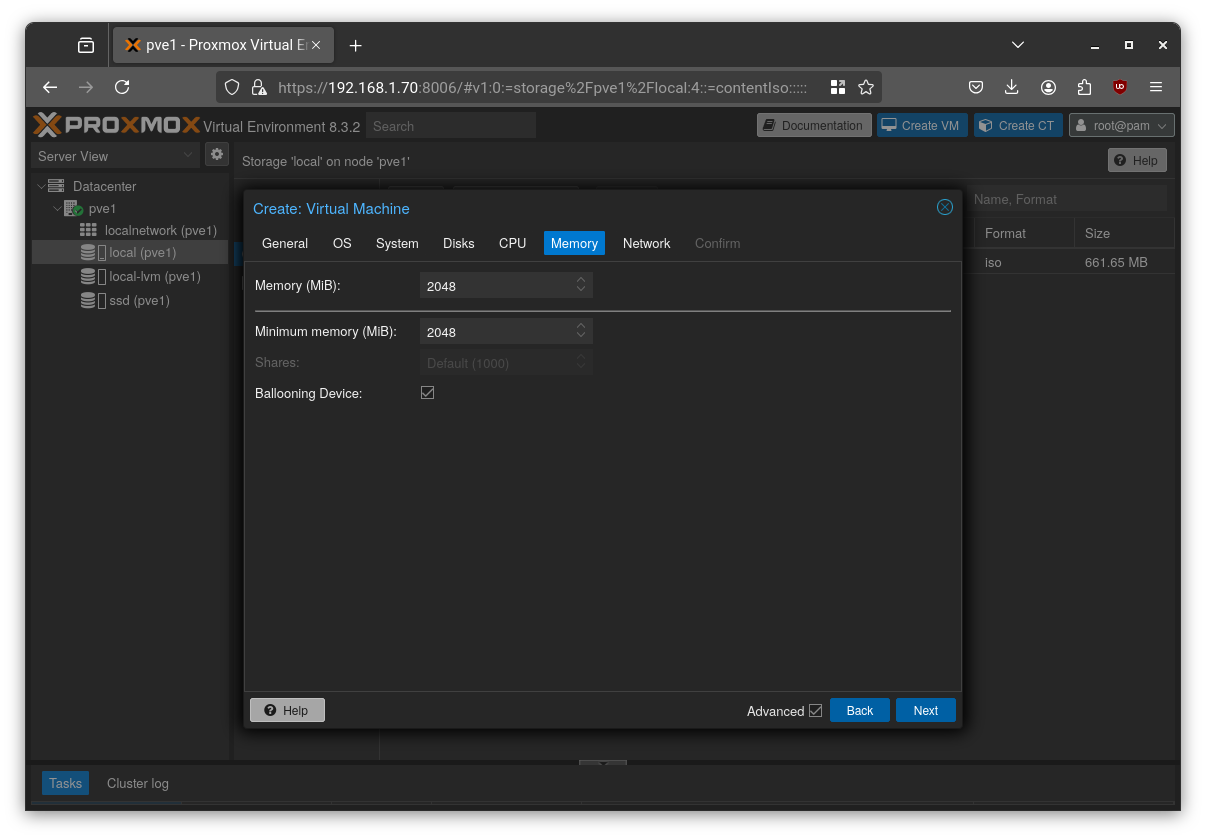
Choose the desired memory amount and leave the other options at their defaults.
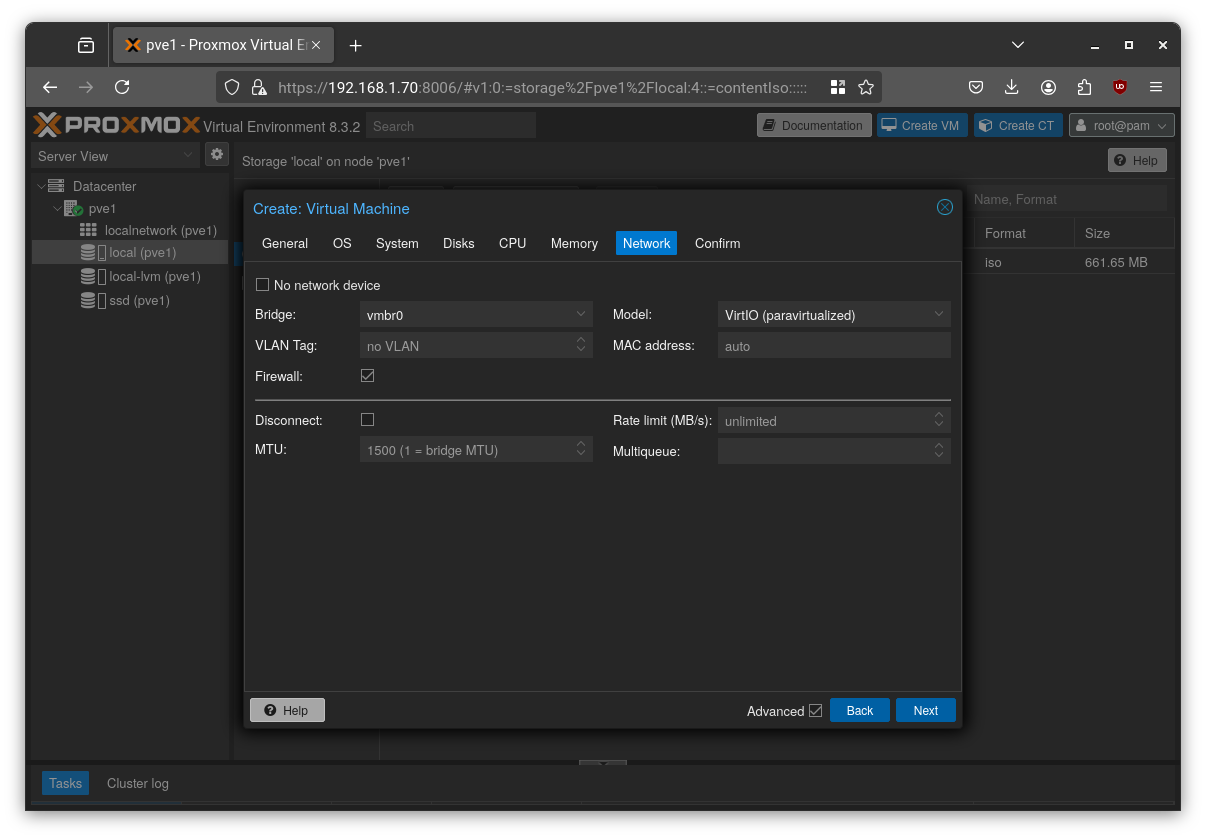
Leave vmbr0 selected for now; we will modify it later after setting up the VM.
Finally, click “Finish” to create the VM.
Alternatively to this procedure, use this command on Proxmox host:
1 | qm create 8000 --name debian12-cloudinit --machine q35 --agent enabled=1 --cpu host --cores 2 --memory 2048 --net0 virtio,bridge=vmbr0 --scsi0 local-lvm:20,format=raw --ide2 local:iso/debian-12.8.0-amd64-netinst.iso,media=cdrom --boot order=scsi0 |
Install Debian as usual and then prepare the system for cloud-init:
1 | sudo apt update |
Step 3: Finalize the Template
Shut down the VM. Go to the “Hardware” tab, select the boot disk, and click “Remove” to delete it.
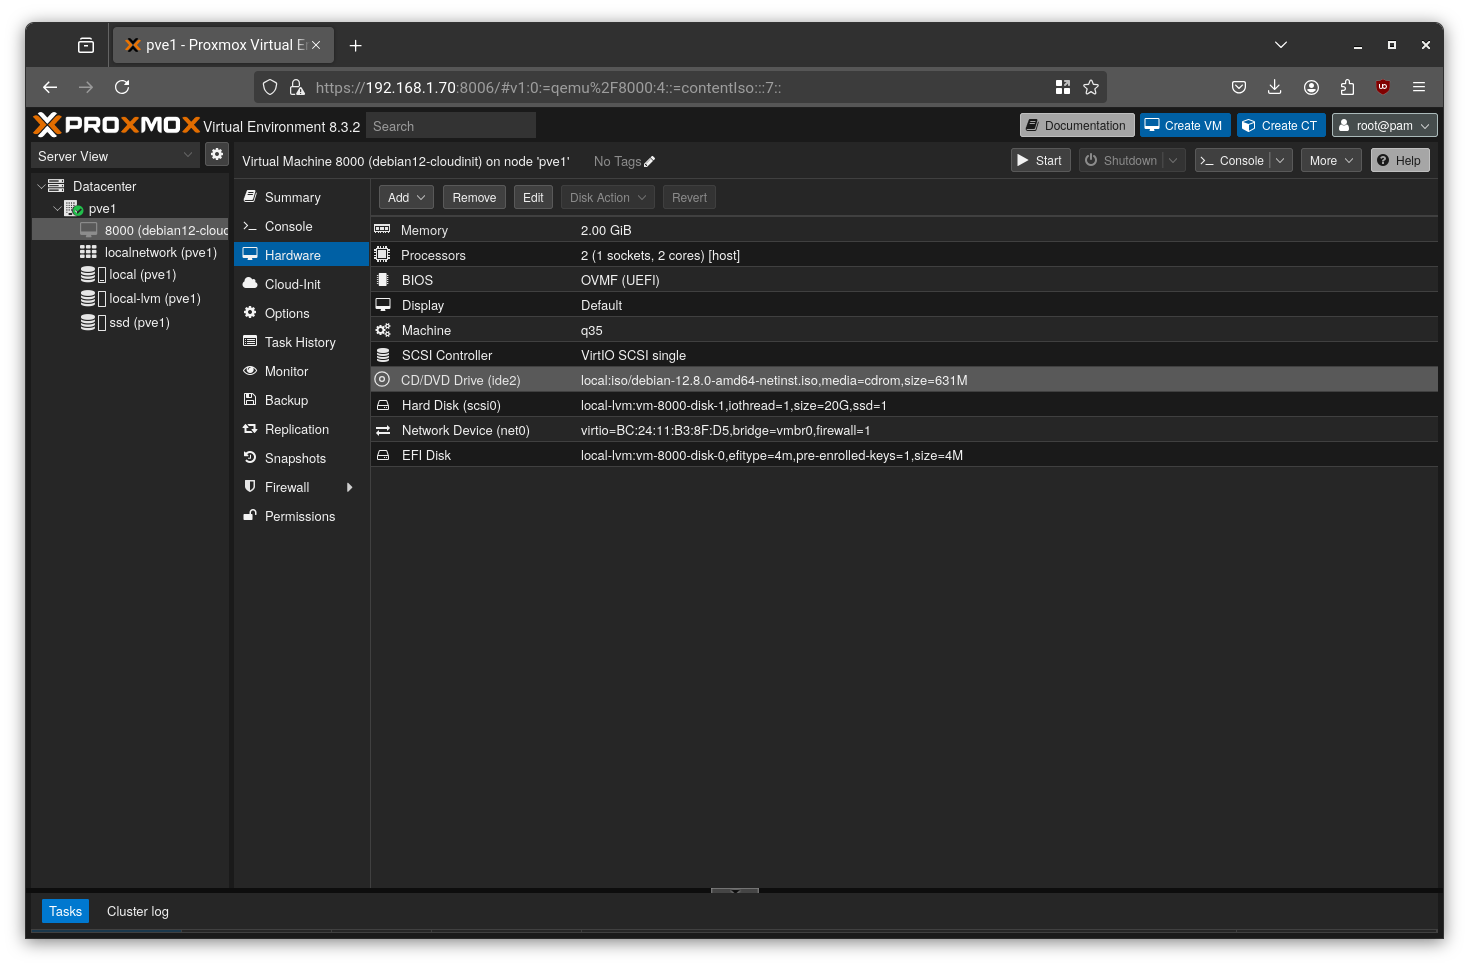
After removal, the setup should look like this:

Next, go to Hardware > Add > CloudInit Drive.

Select the ide2 slot and choose “local-lvm” as the storage location, then click “Add”.
Once this is done, the configuration is complete. You can now right-click on the VM and select “Convert to Template”.

Now, go to the Cloud-Init section of the VM template to edit your settings as desired.

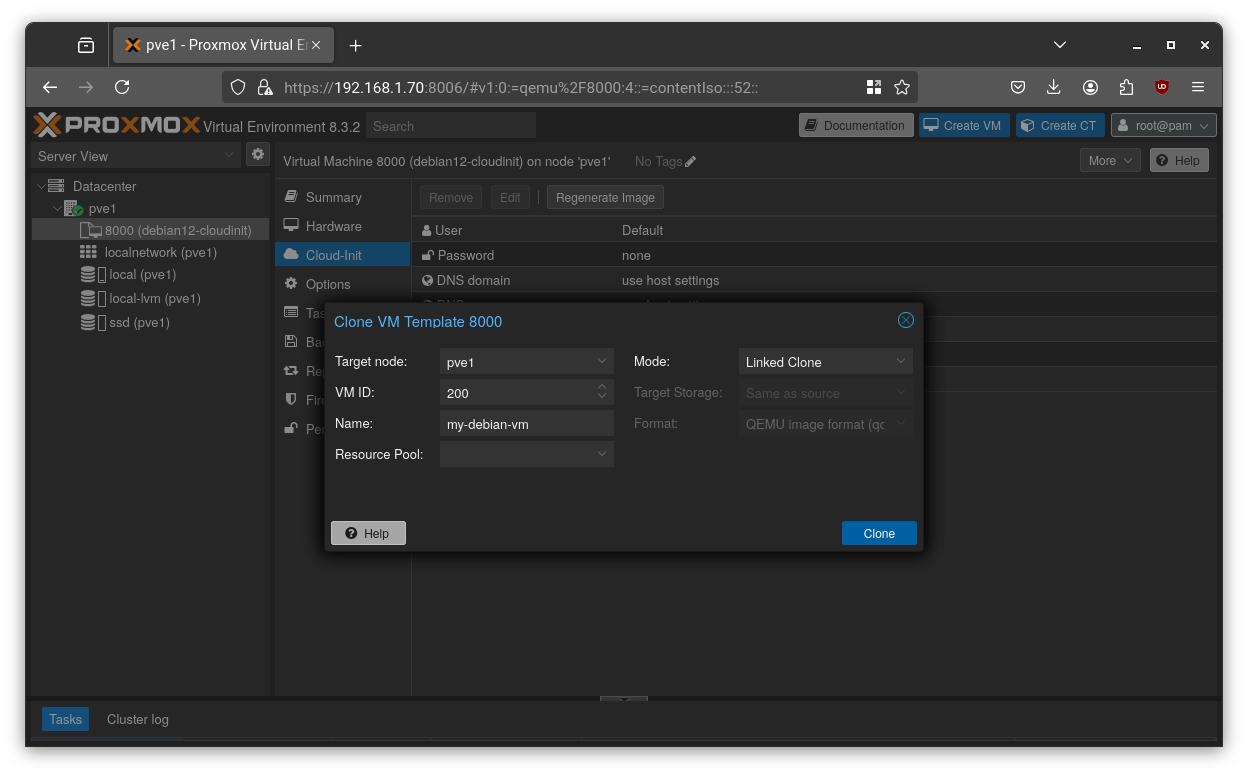
Now you can clone the template anytime and Proxmox will inject the desired settings at boot.
Method 2: Using Prebuilt Cloud Images
A faster way is to use official cloud-ready QCOW2 images. Here’s how to do it for Debian and Fedora:
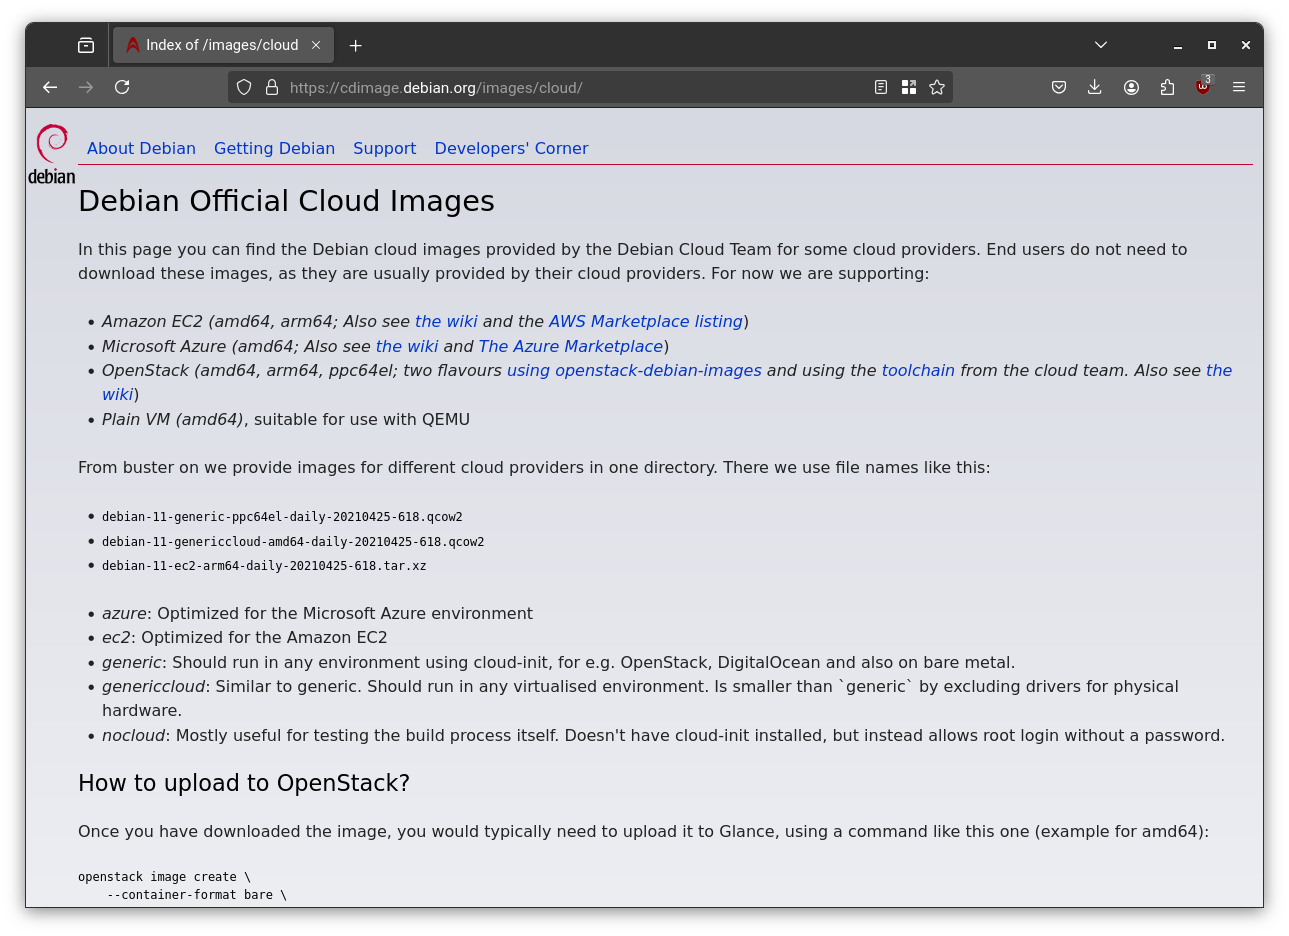
Debian Cloud Image
Go to the official Debian Cloud Image website and copy the URL to download the QCOW2 image file.
Then, on Proxmox host run:
1 | cd /tmp |
Fedora Cloud Image
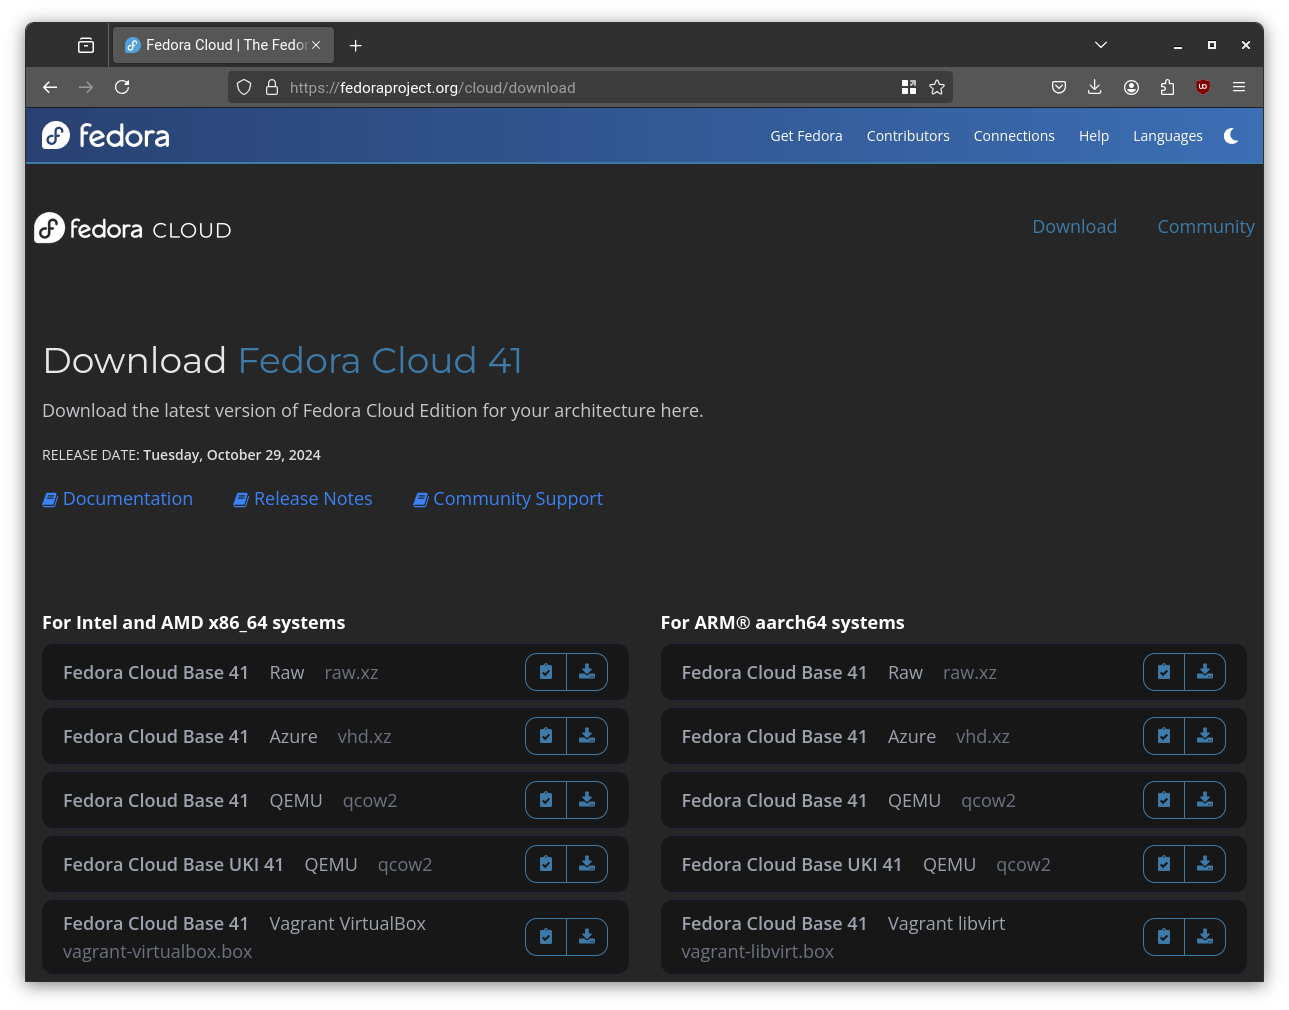
The same procedure can be followed for other distributions such as Fedora or Ubuntu. For example, here’s how it works with Fedora:
Get the official Fedora Cloud Image download link:
Then, on Proxmox host run:
1 | cd /tmp |
These templates are ready to be cloned and launched with minimal setup.
Step 5: Securing Access with SSH Keys
Password-based logins are vulnerable to brute-force attacks. SSH keys are the industry standard for secure remote access.
Generate a Secure SSH Key
On your personal computer (not the server), generate an ED25519 key, which is modern, fast, and secure.
1 | ssh-keygen -t ed25519 -a 100 -C "your-identifier" |
-t ed25519: Use the modern, secure ED25519 algorithm.-a 100: Use key derivation rounds to harden the private key passphrase.-C: Add a comment to identify the key (like your email or device name).
It is recommended to protect the key with a strong passphrase to safeguard it in case the device is stolen or compromised.
You’ll get two files:
~/.ssh/id_ed25519(your private key, keep it secret!)~/.ssh/id_ed25519.pub(your public key, share it freely)
Deploy Your Key
Copy the contents of your public key (id_ed25519.pub). In the Proxmox UI, go to your VM template’s Cloud-Init tab and paste the public key into the “SSH public key” field. Now, any VM cloned from this template will automatically trust your key, allowing you to log in securely without a password.
Configuring the SSH Client (~/.ssh/config)
To simplify connections and enforce good defaults, create a config file:
1 | vim ~/.ssh/config |
Here’s a sample:
1 | Host * |
This lets you SSH into your VM with:
1 | ssh pve-vm |
The ssh key to be used can be specified through -I flag, if it is not specified in the configuration file as follow:
1 | ssh -I ~/.ssh/id_ed25519 user@machine |
As alternative, you can automatically use your ssh keys by leveraging the ssh-agent. If you want to use the ssh-agent ensure to remove IdentitiesOnly yes option in config file.
ssh-agent
The ssh-agent is installed by default in almost any linux distribution, it is included in openssh-client package, and it is a background daemon that securely stores your decrypted SSH private keys in memory. It allows you to enter your passphrase once and reuse those keys for subsequent SSH sessions without retyping it.
When the ssh-agent is running, it loads in memory the ssh keys and creates a unix socket to interact with them.
The following are some common commands to manage the ssh-agent.
1 | # Start the agent, this will create env variables SSH_AUTH_SOCK, SSH_AGENT_PID |
Another useful feature of ssh-agent is agent forwarding. Agent forwarding is useful when you need to log in to a remote host using an SSH key via a jump host. By using it, you can avoid storing your SSH key on the jump host. Agent forwarding works by forwarding access to your local ssh-agent‘s Unix socket to the remote host. If you initiate an SSH connection from there, the remote host can relay signing requests back to your local agent.
To enable agent forwarding, use the -A option when connecting via SSH, or enable it in the configuration file by adding ForwardAgent yes for a specific host.
Pay particular attention when using agent forwarding, use it only with trusted machines. The forwarded Unix socket can be abused if the jump host is shared with other users or has been compromised. An attacker could use your keys (via the forwarded socket) to authenticate elsewhere, even though they cannot extract the private key.
Additionally, there was a notable vulnerability, CVE-2023-38408, which was patched in OpenSSH 9.3p2 and later. This vulnerability, related to OpenSSH’s forwarding via PKCS#11, could allow remote code execution on your local machine.
Conclusion
We’ve successfully laid the foundation. Proxmox is installed, our network is prepped for advanced configuration, and we have a streamlined process for deploying new virtual machines. The server is no longer just a box of components; it’s a living, breathing platform ready for action.
In the next post, we’ll tackle the next major piece of our architecture: networking. I’ll show you how to install and configure OpenWRT as a virtual router inside Proxmox, giving us fine-grained control over our digital domain with VLANs, firewalls, and more.
Stay tuned! 🚀